Our first post will be a super easy tutorial for a personalized welcome mat! We used a Silhouette machine to make our stencil but you can purchase pre-made stencils as well if you don’t have a vinyl cutter.
You will need the following supplies for this project:
*Blank Door Mat (We used this mat from Ikea but they are also at Target)
*Acrylic Craft Paint in Your Choice of Colors
*Foam Paint Brushes
*Vinyl (and Transfer Tape) or Pre-Made Craft Stencil (I used Design ID #30207 in the Silhouette Store)

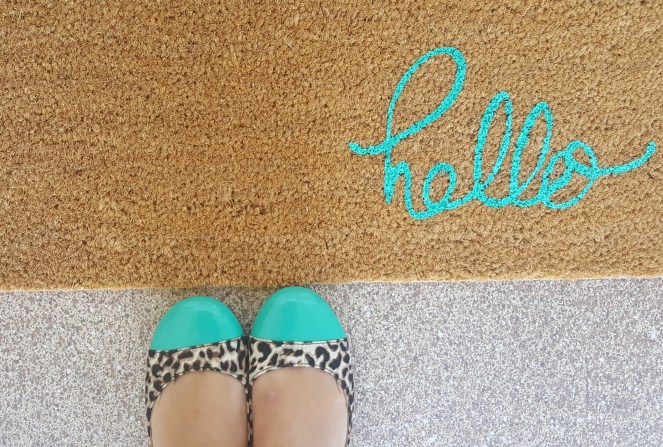
I wanted something simple and bright to welcome our guests so I made a stencil with the word hello in a summery aqua shade. First, you will adhere your stencil to the mat. It is a little tricky to get the vinyl fully adhered to the mat so I did use a blowdryer to lightly melt the vinyl on the edges.

Next, you will just paint your design. I recommend a foam brush and to “dab” the paint on. If you brush it on you will most likely get paint leaking under the stencil. You will dab on several coats (3-4) until the stencil is fully colored without the mat color showing through. Once dry, carefully peel up your stencil and you are finished. This is so simple and a great way to personalize your front entry!