I am so excited to be on the promo team for Raspberry Creek Fabrics this quarter! For my first post I am on the blog bringing you Fall inspiration for sewing with rib knit.
I love all the CLUB fabrics I have purchased from Raspberry Creek Fabrics (especially the French Terry!) and was so excited to see new bases available for CLUB prints. Rib knit is quickly becoming one of my favorite bases to work with so I knew I had to try RCF CLUB rib. For those unfamiliar with RCF, CLUB fabrics are the in house exclusively printed designs that are released seasonally.
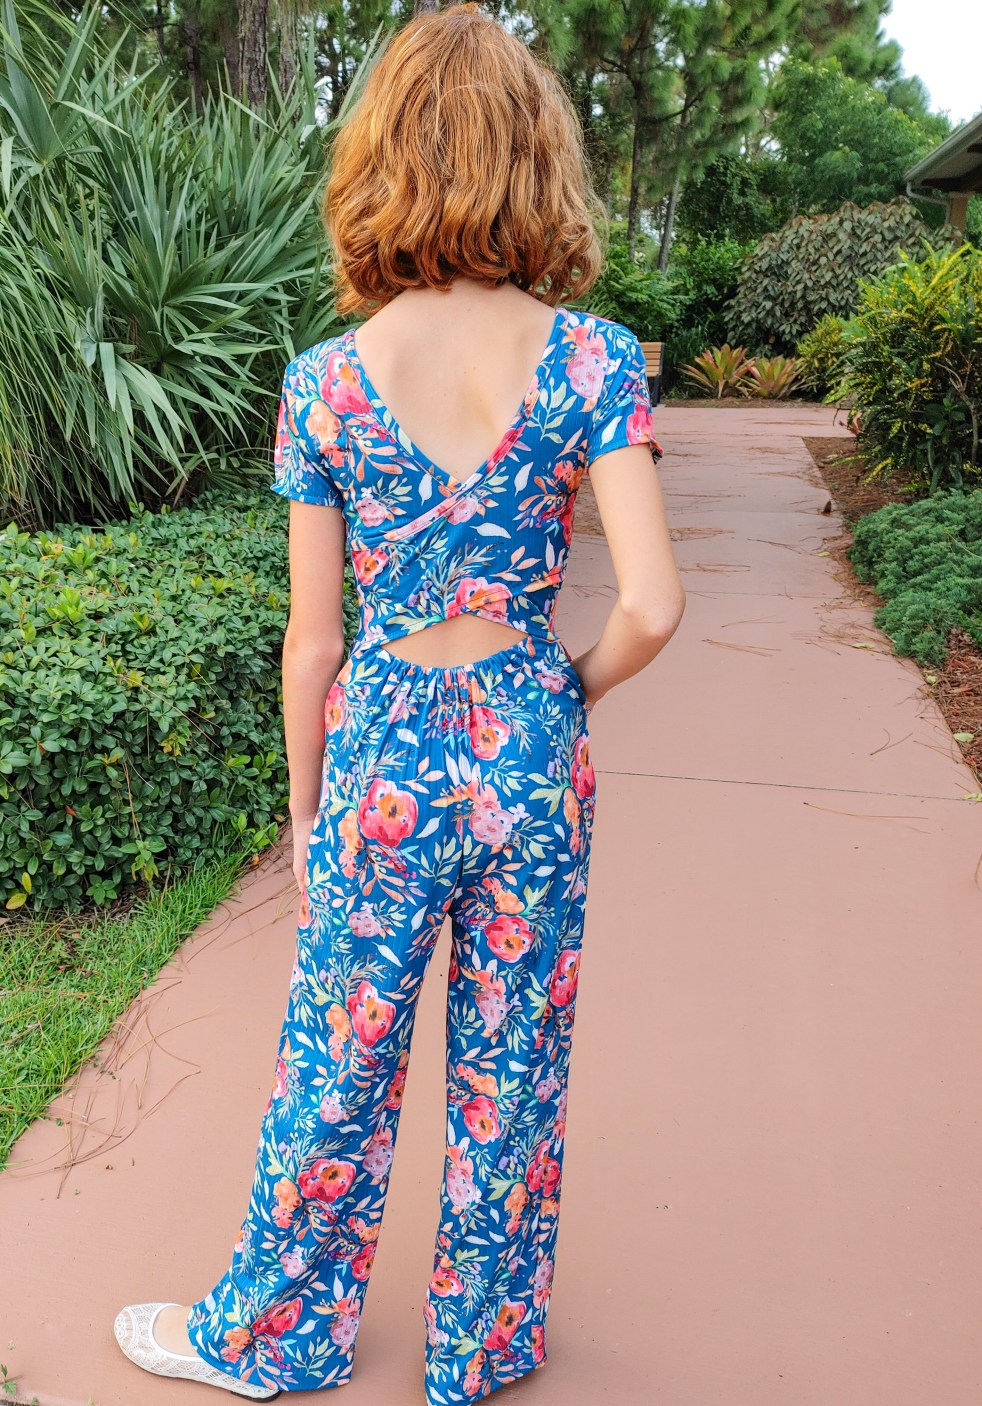
I have been swooning over the Teal Watercolor Floral print in the Forever Collection and it has the perfect coloring for Fall sewing. This fabric is available in both the rib knit I used and in the double brushed poly base. Both of these fabric bases are a 9 oz weight and have 4 way stretch. I find the rib knit to be more breathable and a little lighter for clothing than the double brushed poly base.
I wanted to sew up two completely different looks with this fabric to show just how versatile it is! First, I sewed an Aaronica Romper from Made for Mermaids for my oldest daughter. This pattern offers so many options including shorts, capri, pants and skirt as well as multiple sleeve lengths. The pants option make it perfect for transitioning to Fall but the short sleeves and back cut-out keep her cool enough in the waning summer heat as well. It is always a little tricky to sew for her since she’s so tall (same height as me now!) but so thin. I graded this pattern into a size 10 chest, size 8 waist and hips and a size 14 length. It was easier to grade than I expected but I did need to adjust the back elastic to be smaller for her. Once I adjusted the back elastic the romper fit her perfectly and is just so flattering on her!


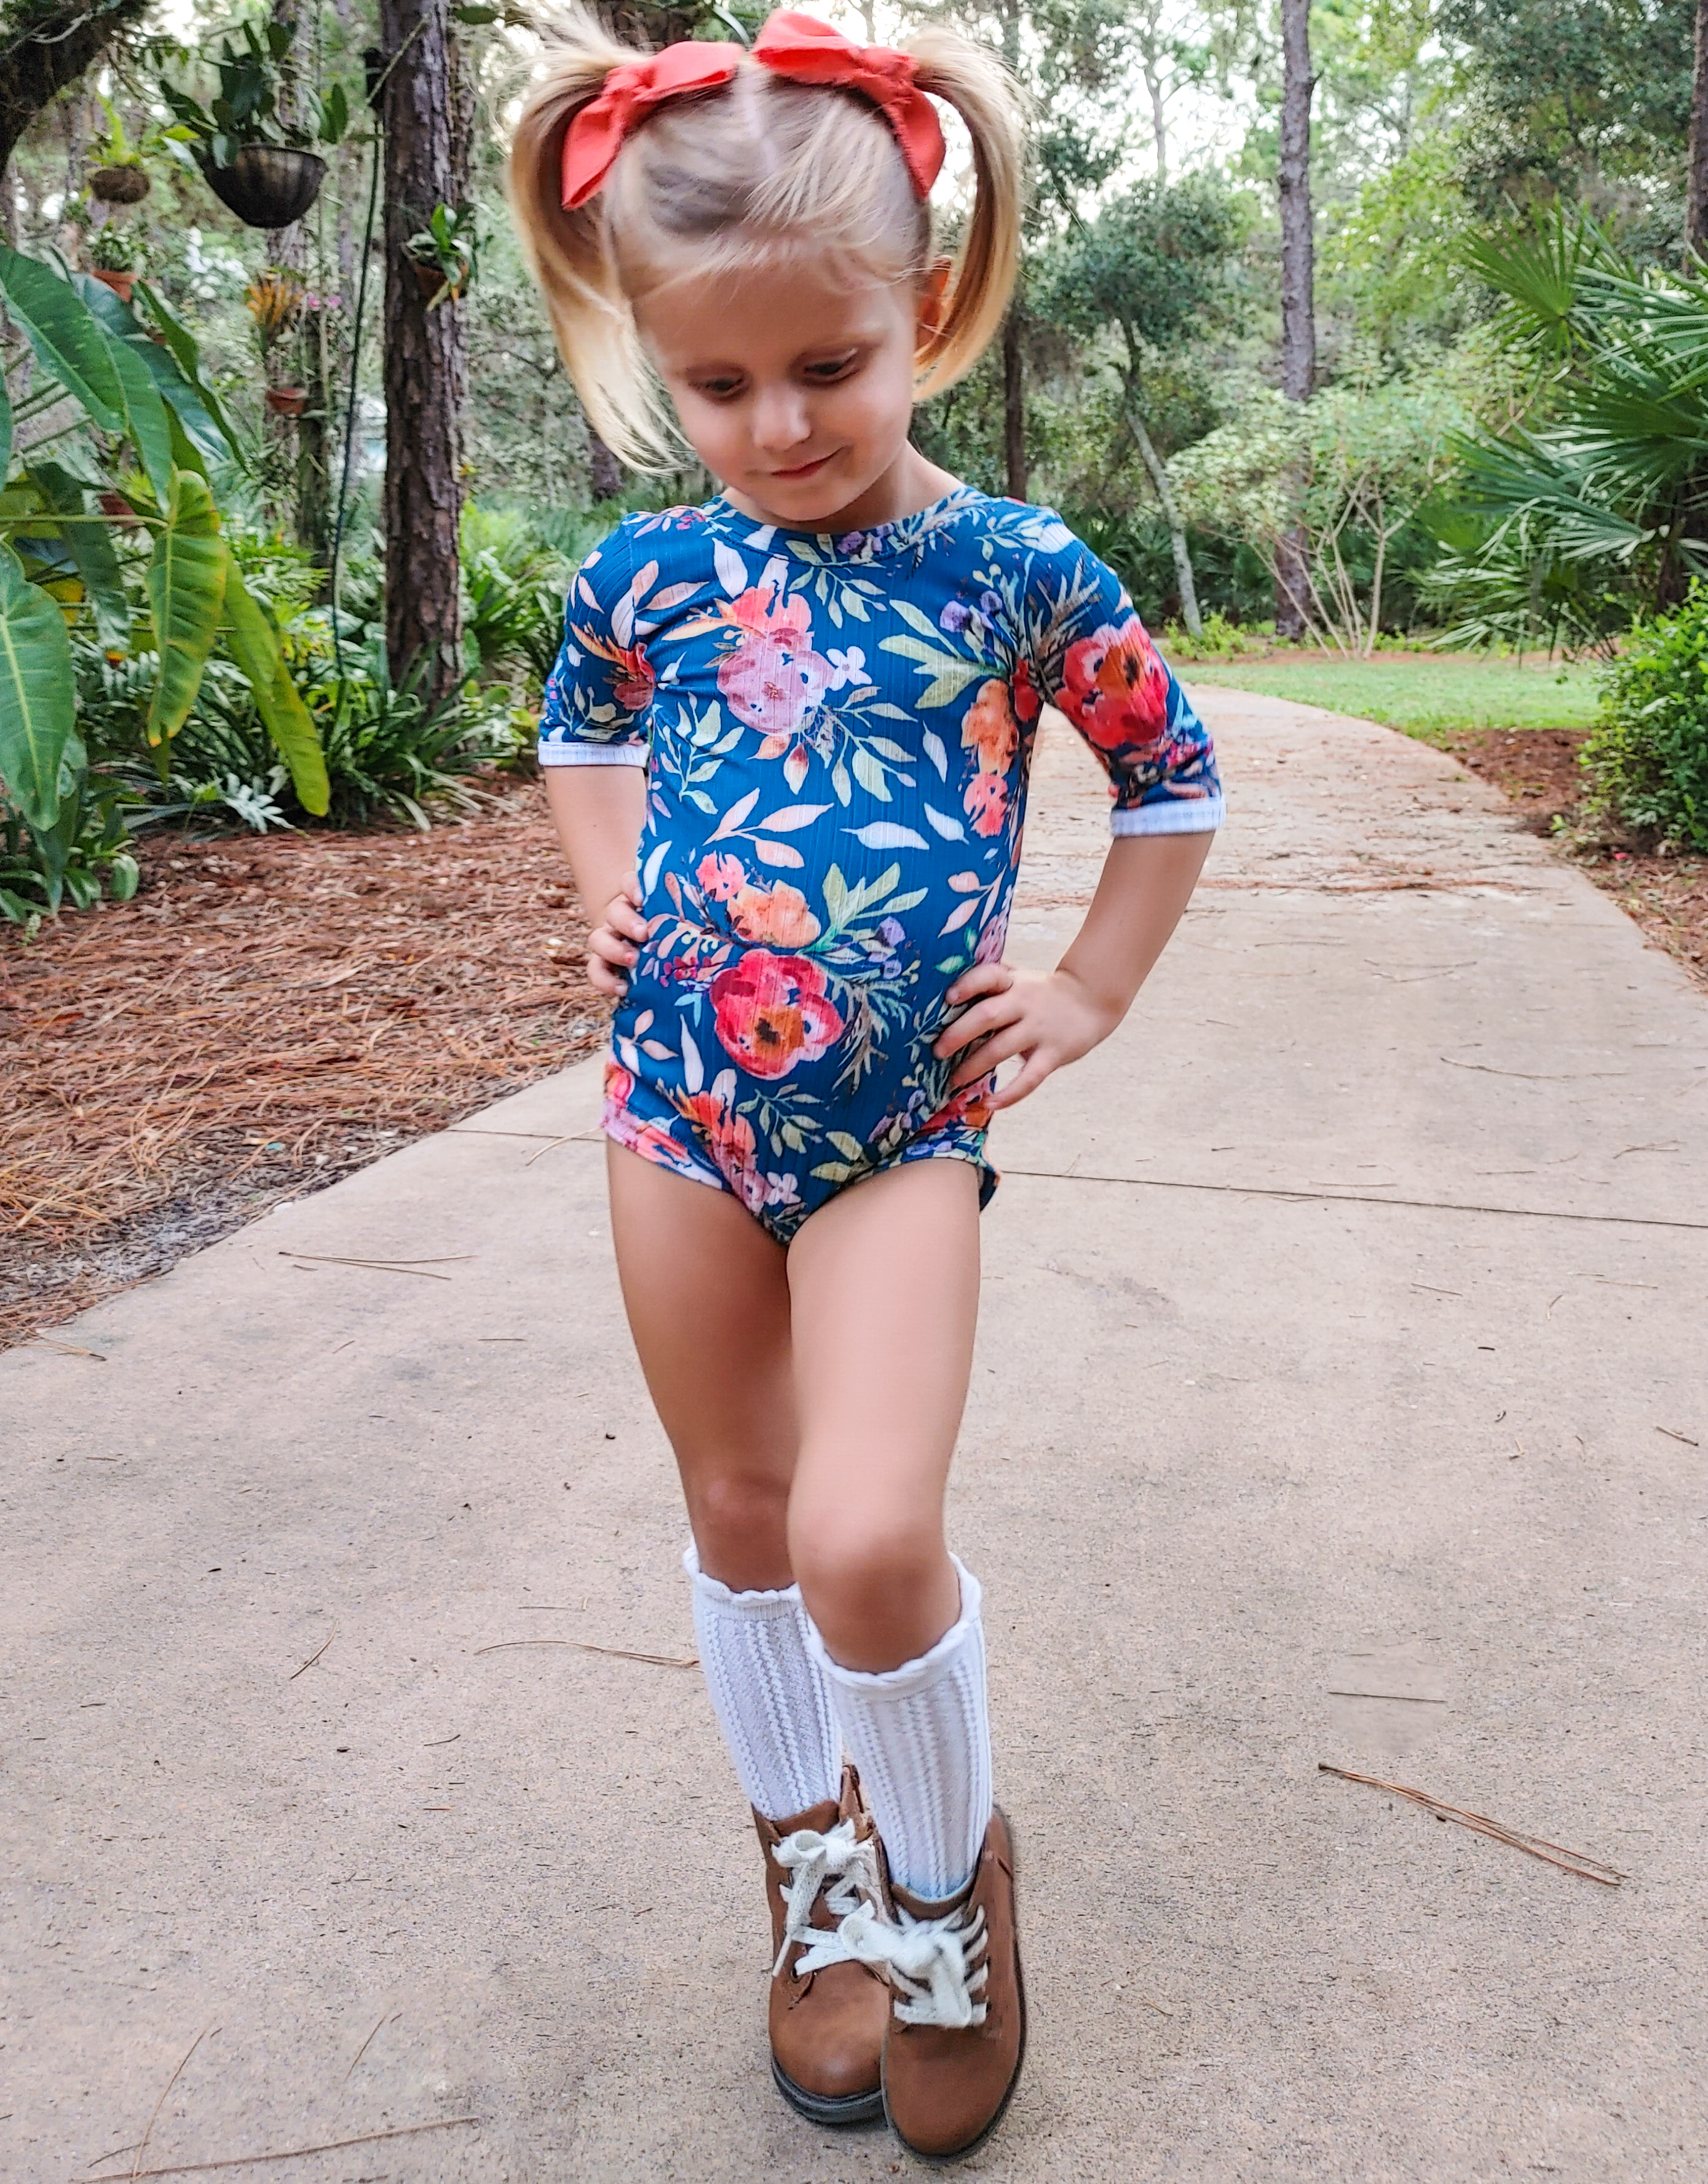
Next, I sewed a leotard for my youngest daughter. I chose the elbow length sleeves to make this a staple piece this Fall with knee socks and boots or a pair of skinny jeans. I used the Juliet pattern from Petite Stitchery for her leotard. She is so petite at 3.5 years old that she is just now fitting into the 2T size on PSCO patterns! I did not need to do any grading for her leotard and can’t wait to layer it this Fall and Winter. Since this fabric would be a bit warm lined I opted for the leg and neck bands instead of fully lining it.

I loved being able to feature rib knits over on the Raspberry Creek Blog today and I hope you are inspired by these looks and can’t wait to see what you sew up with CLUB rib knits! Don’t forget to share in the Facebook group as well😊

*This post was sponsored and does include some affiliate links but all opinions and views are my own*