Fabric Promo · Pattern Reviews · Sewing Tutorials

Sewing for Halloween: Handmade Family Costumes Featuring Raspberry Creek Fabrics

I am on the blog today to bring you handmade Halloween costume inspiration.  My family does themed costumes every year and we chose characters from Mario Brothers this year after playing Mario Party together on repeat all year.  I am so excited to share these makes with you all!

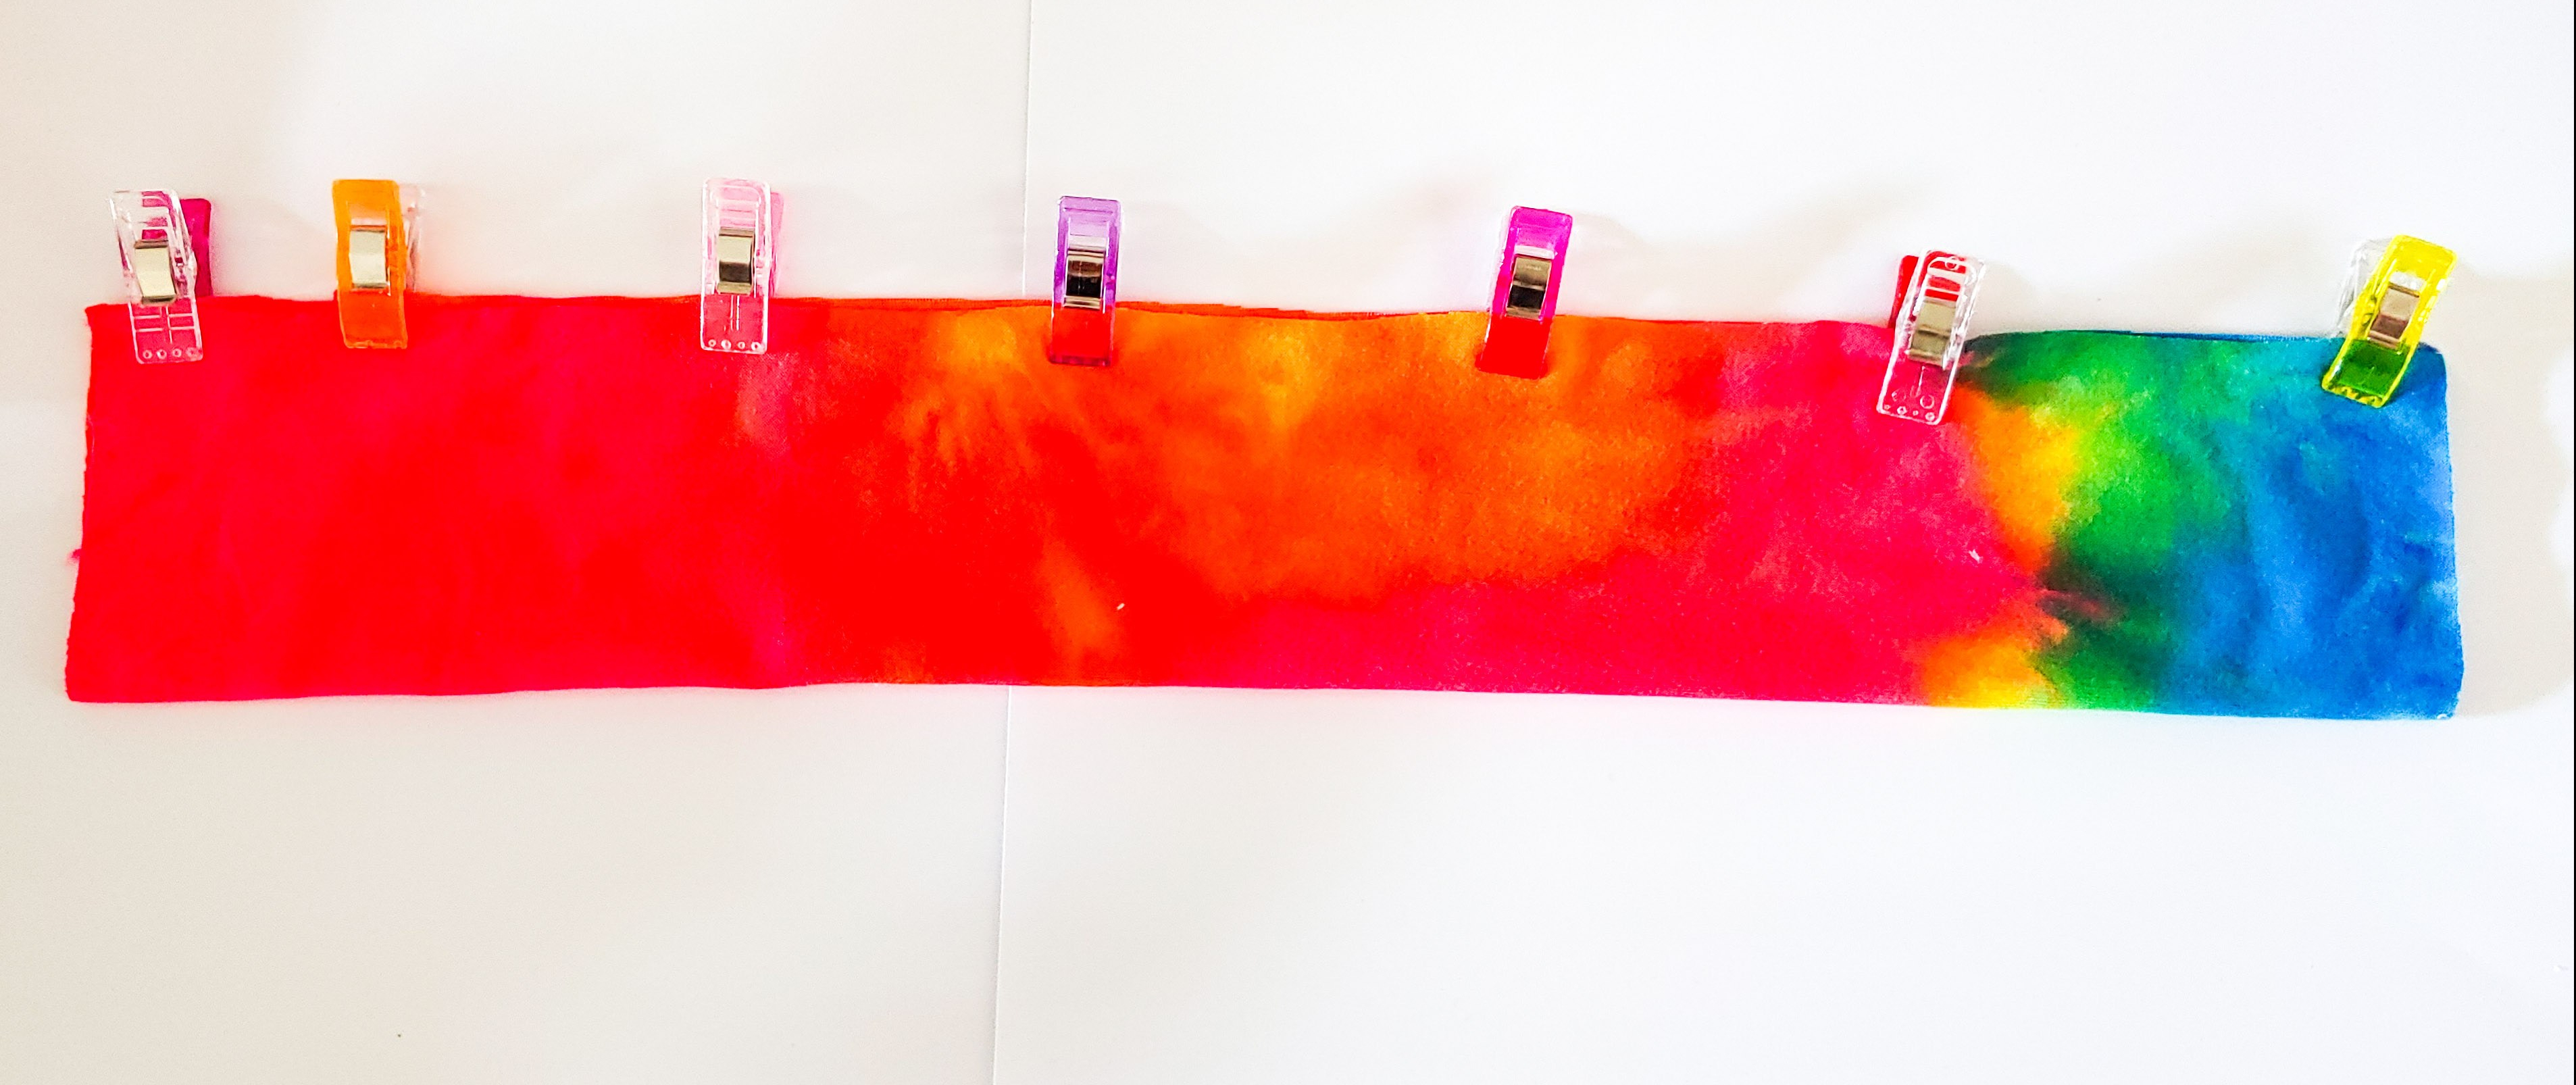
I used all Raspberry Creek Fabrics for our themed family costumes this year!  I focused on using only solid fabrics in a mix of the Cotton Lycra and French Terry bases.   I used Kelly Green, Mint, Bright Bubblegum Pink, Bright Fuchsia Pink, Eggplant Purple, White and Red in the Cotton Lycra base.  These are all a 10 oz weight with 4 way stretch which is a really nice weight without being too warm or too light.  I used Black and New Navy in the French Terry base.  These are both a medium weight (11-12 oz) fabric with 4 way stretch.

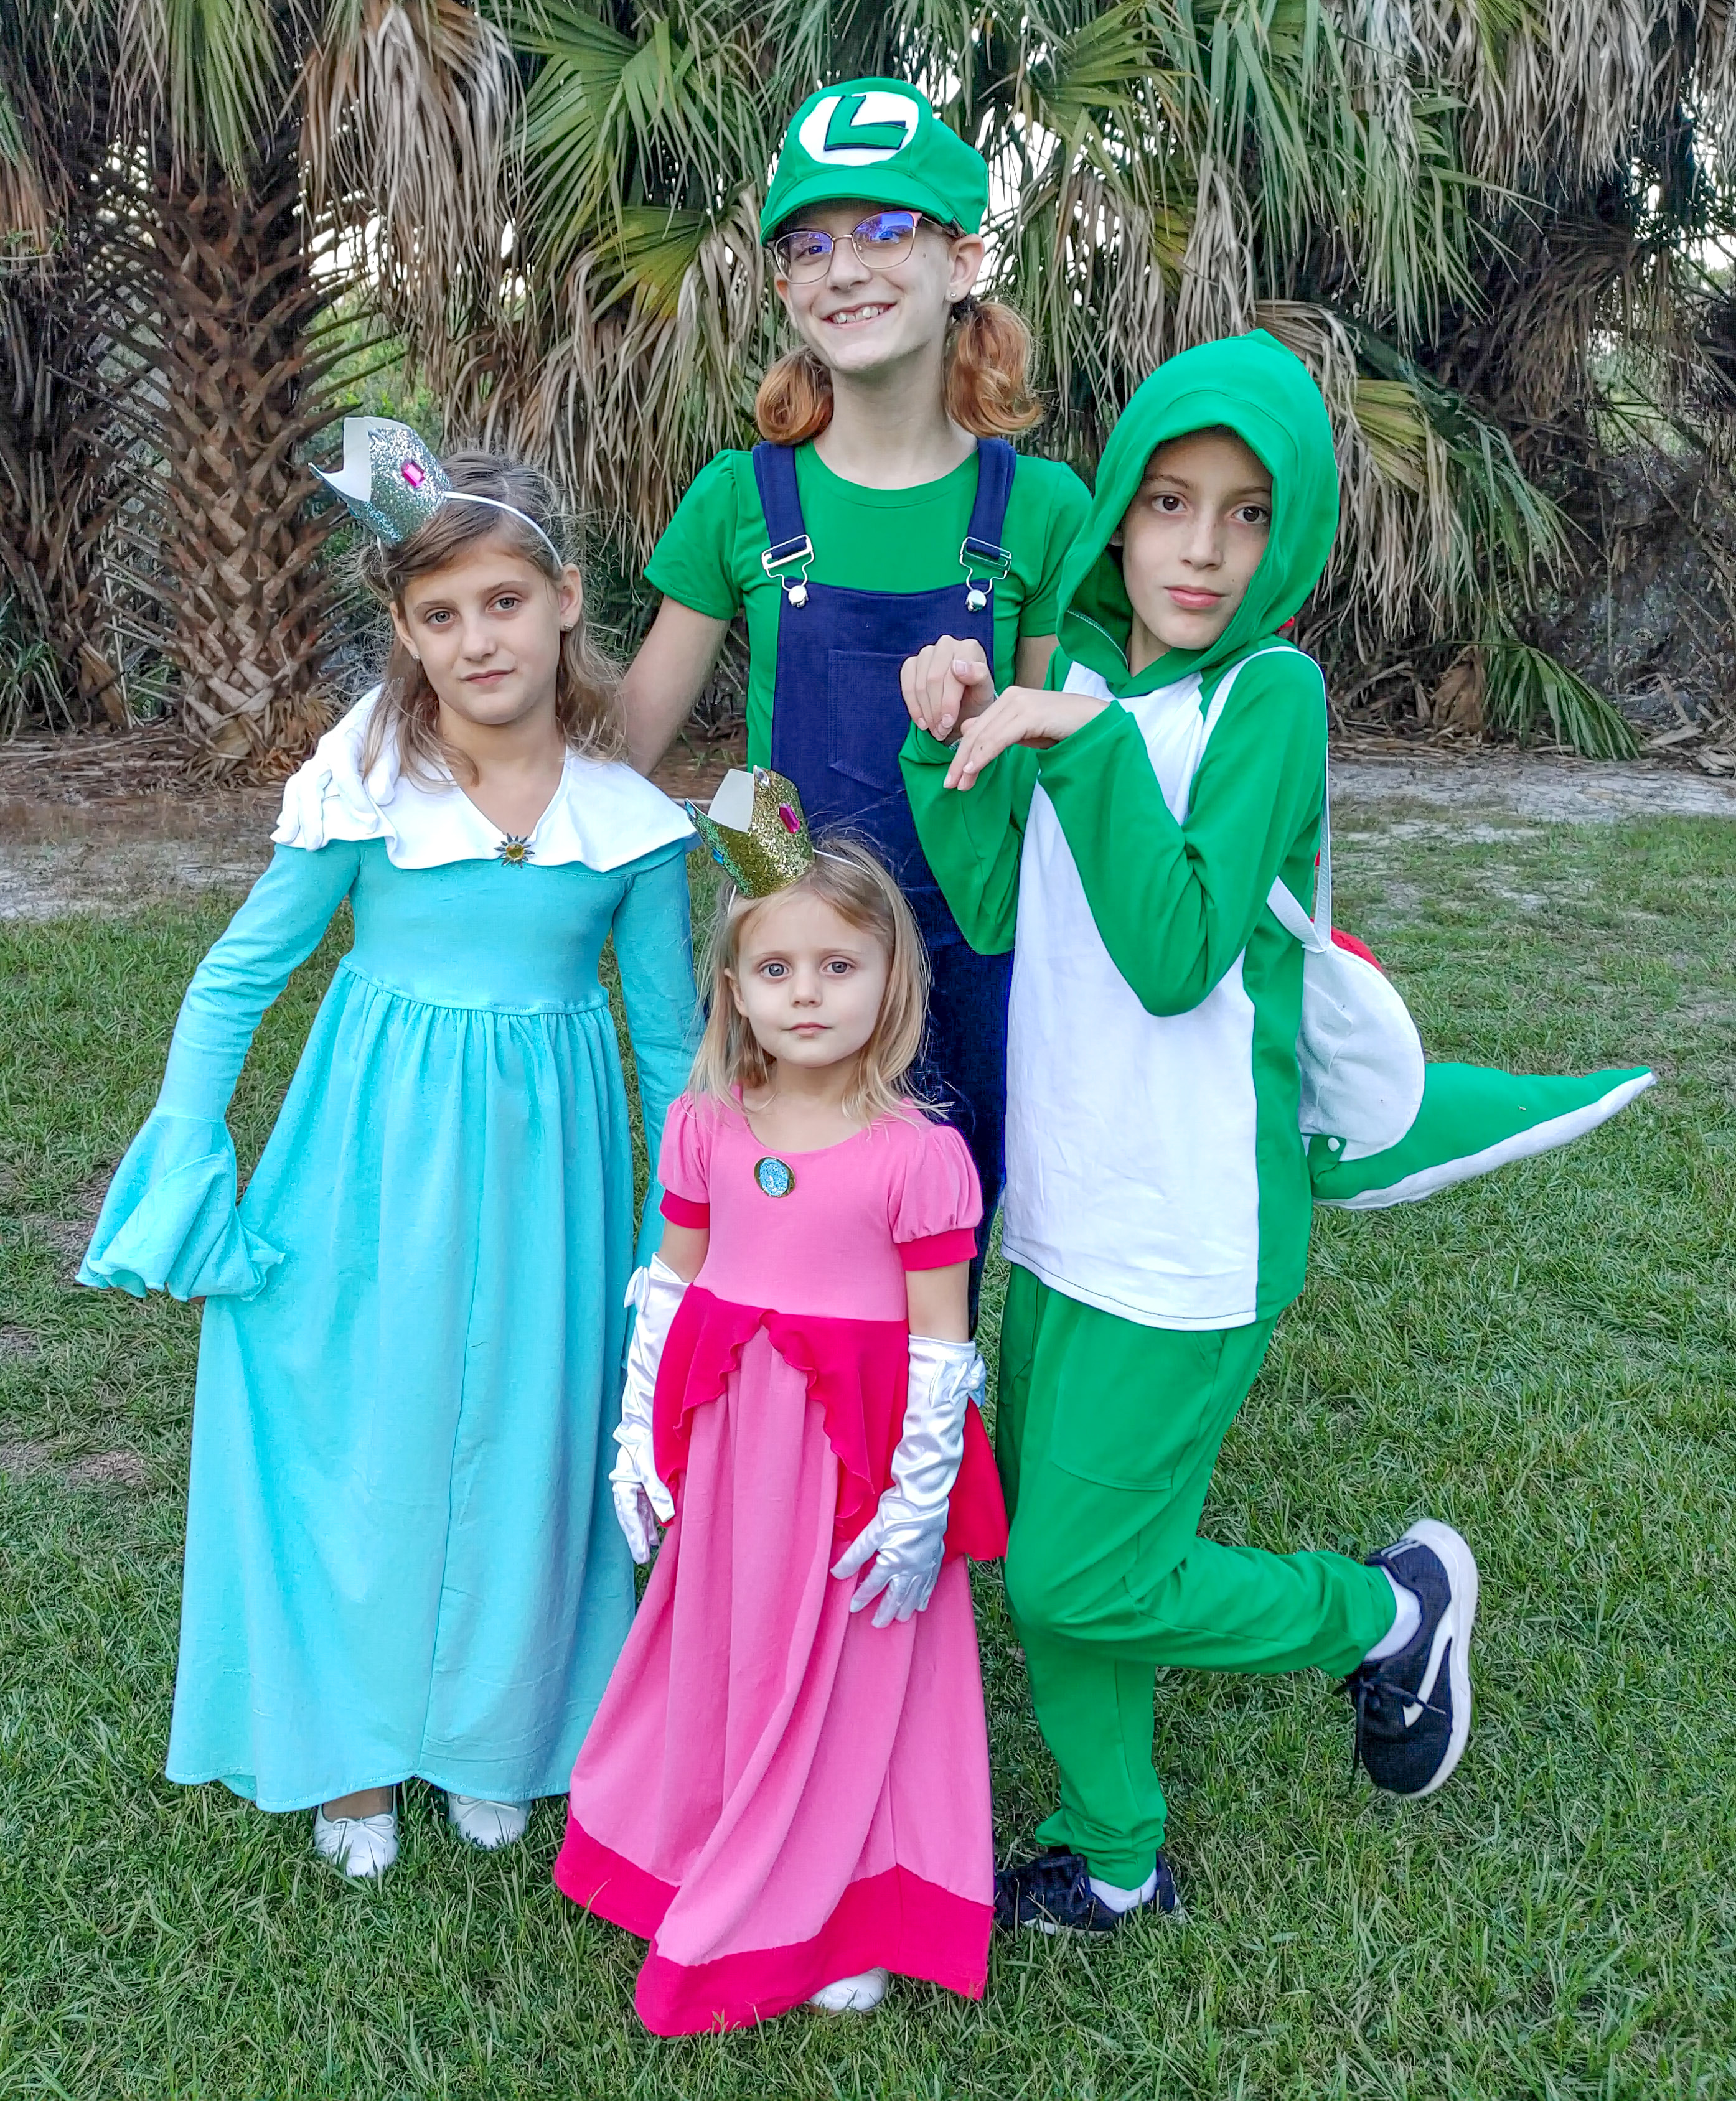
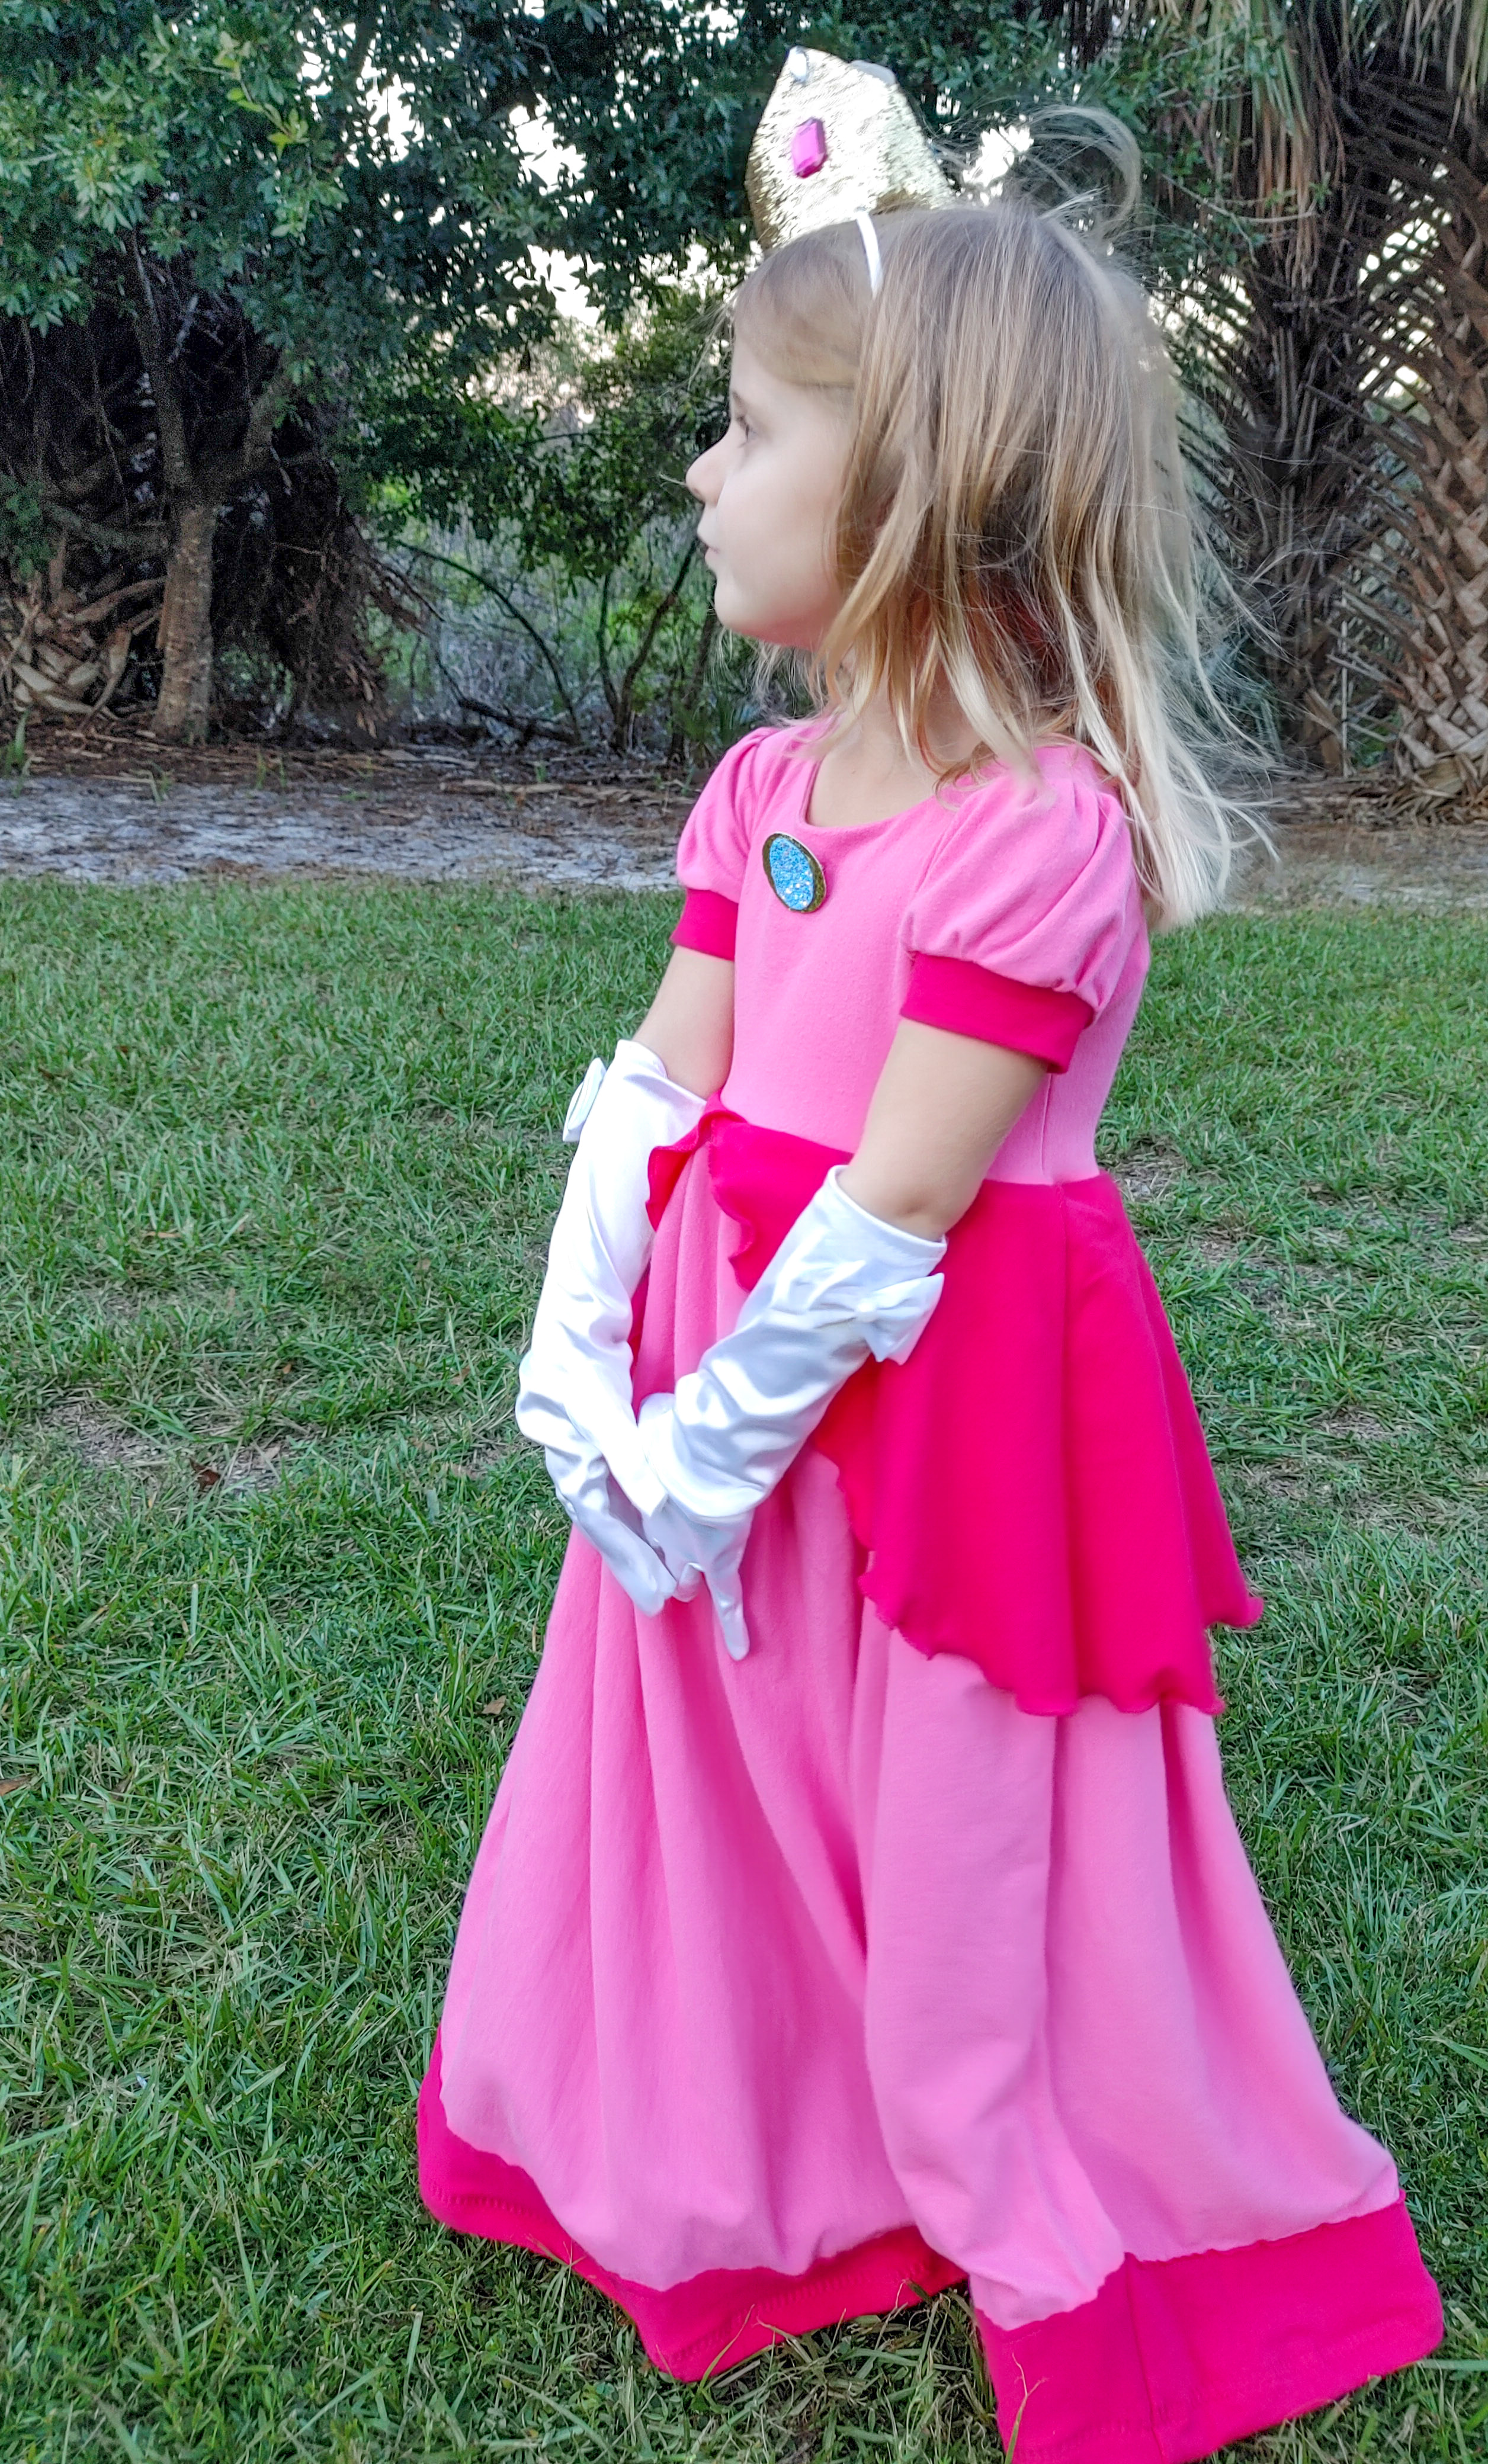
 These characters were SO FUN to create and I loved seeing all the pieces come to life.  We chose Princess Peach, Rosalina, Yoshi, Luigi, Mario and Waluigi as our characters.  First, my youngest is a princess obsessed little one and wanted Princess Peach (of course!) as her costume.  I used the Bright Fuchsia Pink and Bright Bubblegum Pink for her costume. I used all pattern pieces from Simple Life Patterns and also blogged about this make here. So, head over to that SLPCO post to read all about how to create this princess themed look.

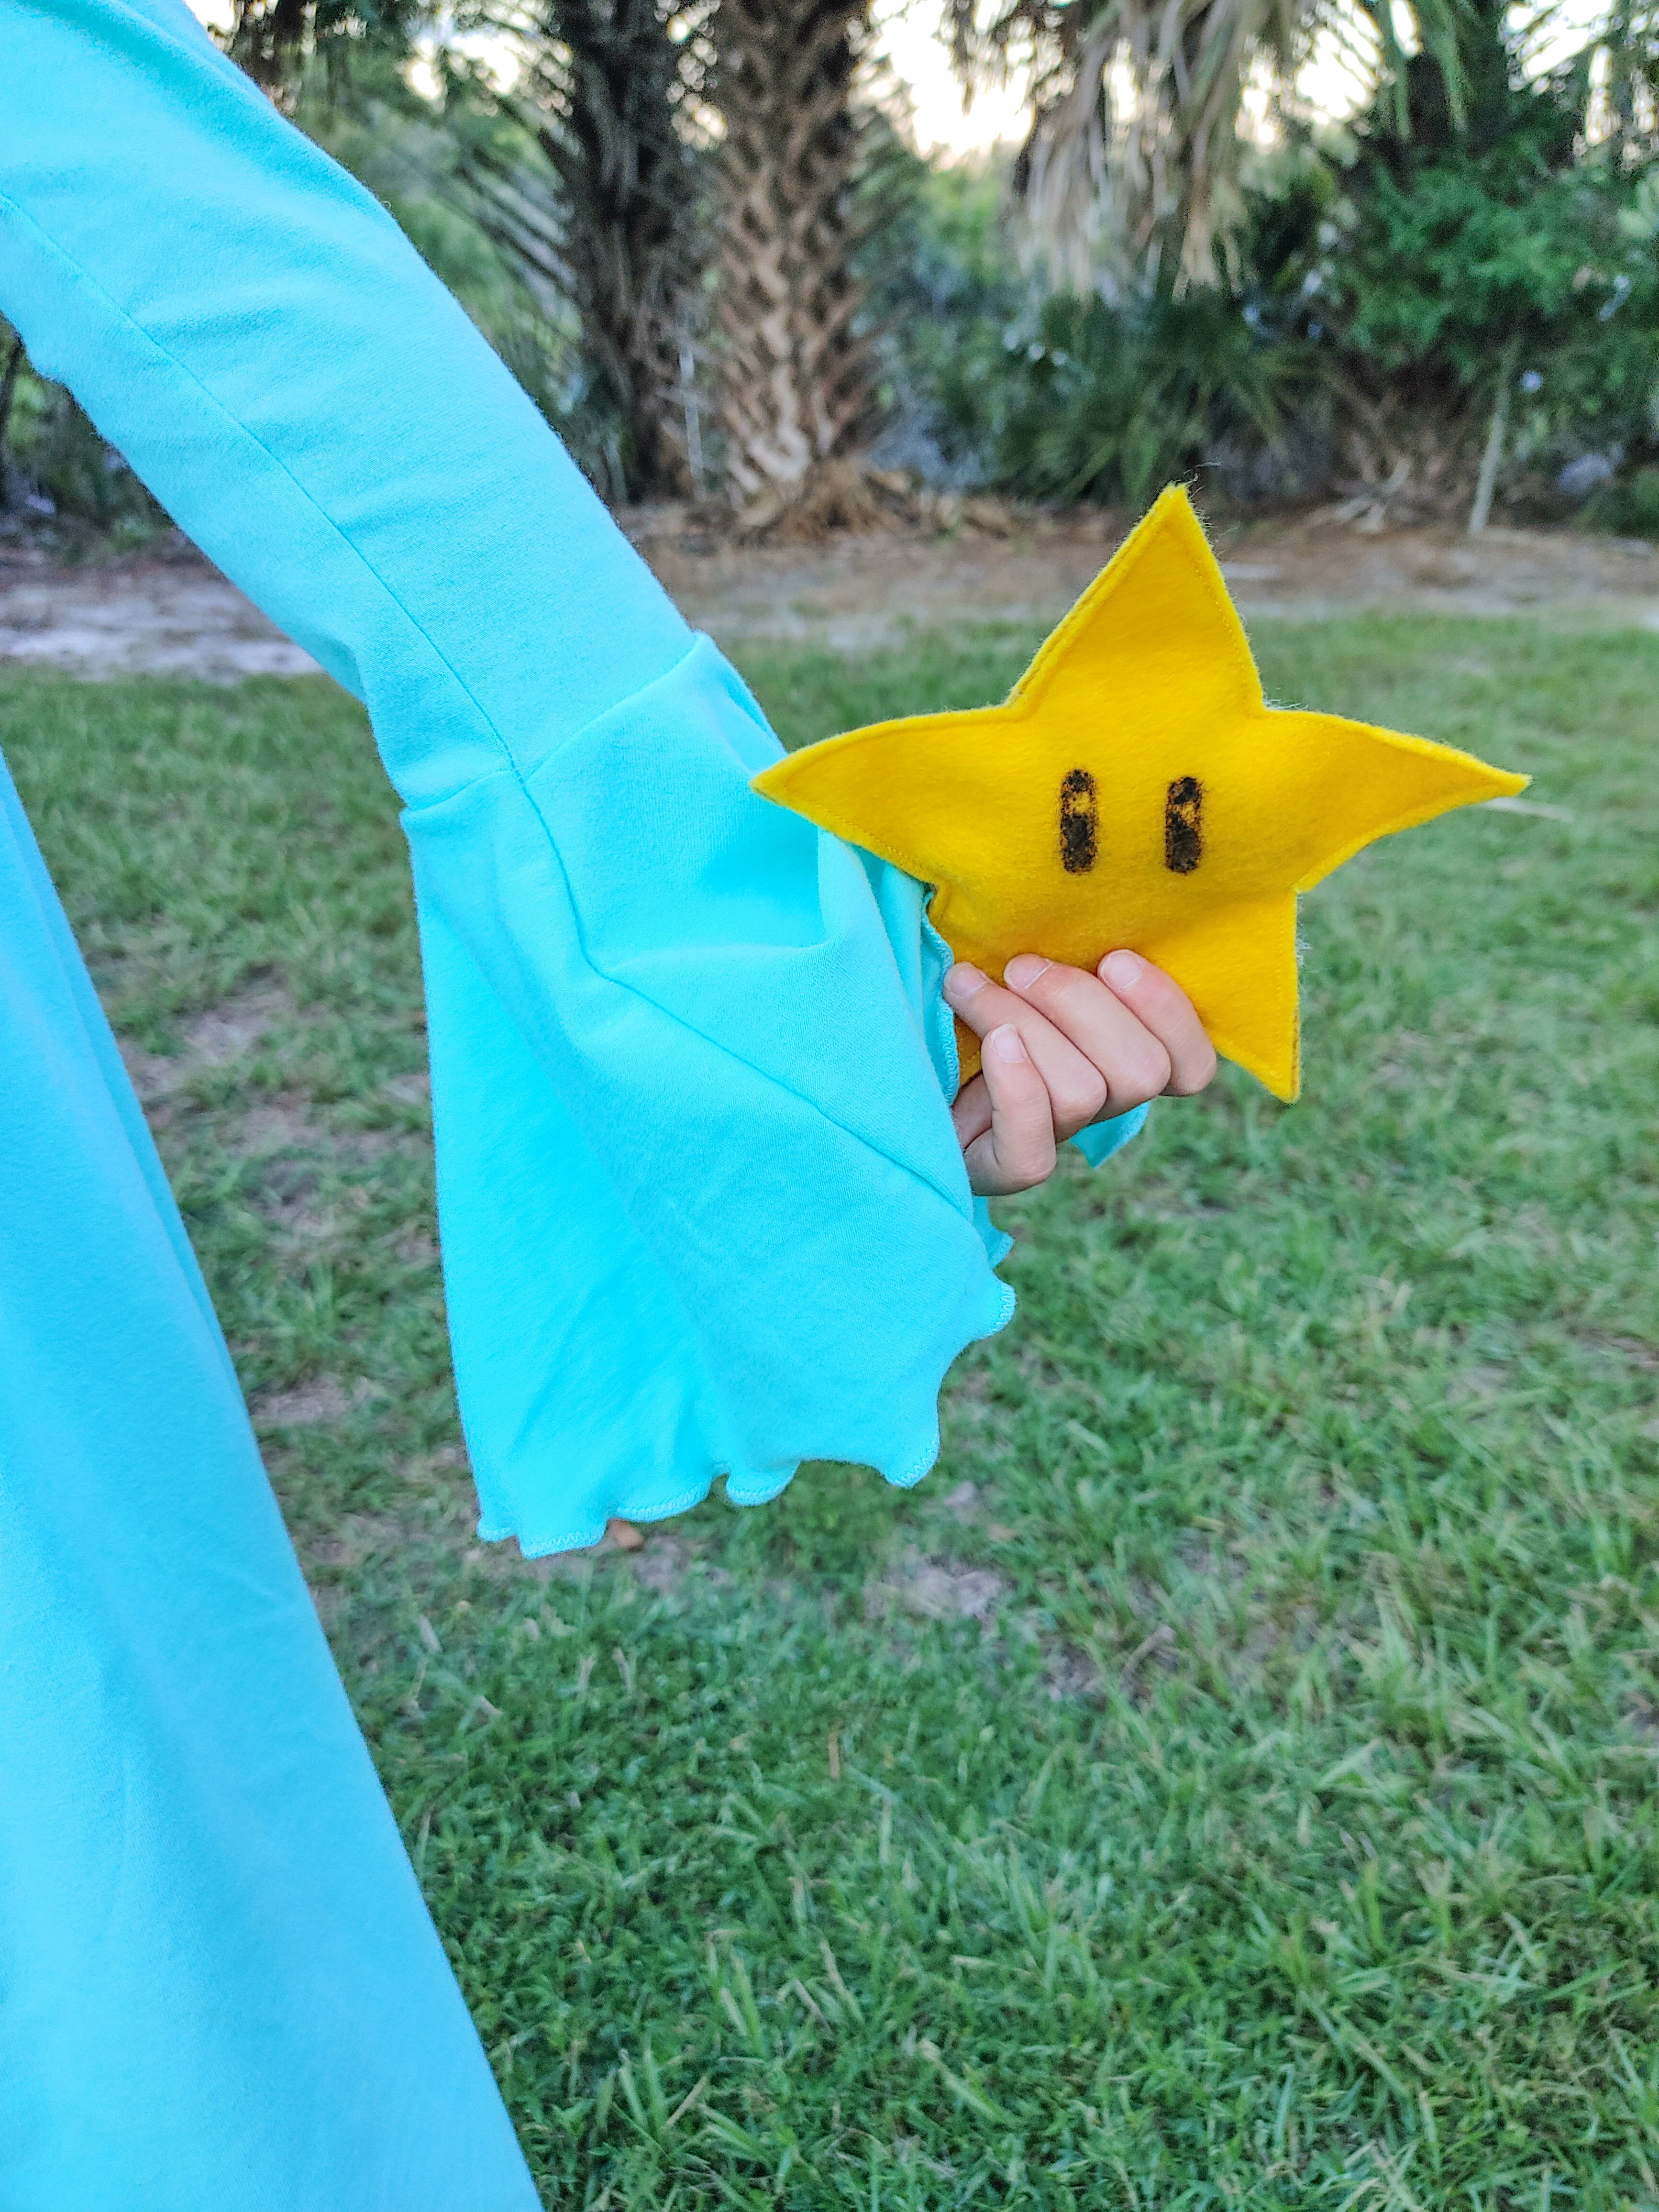
Next, my eight-year-old chose Rosalina as her favorite character.  The mint was the perfect color match for her inspiration, and we paired it with the white for her shawl.  This was such a fun costume to create as well, I mashed together a few patterns to create this look! First, I used the bodice from the Hibiscus Pattern from Petite Stitchery paired with the FREE bell sleeve add on. For the skirt, I used the maxi length Hampton from Simple Life Patterns. The front piece is cut mirrored (instead of on the fold) putting the “high low” side into the middle front seam and I added length to the back piece to give it more of a train look. For her shawl I used the over skirt pattern piece from the Diana pattern and modified it slightly to fit her shoulders and then pin closed. For both Rosalina and Peach’s crowns I used a crown template (Design ID 53108 in the Silhouette Store) cut on freezer paper with my Silhouette.

My son was the most challenging costume creatively as he selected Yoshi!  This one took me the longest time to decide on patterns and how to create his saddle/tail combo for his back.  I love the Kelly Green on his (paired with white and red) and love how versatile it is.  He can wear the joggers after Halloween for pajama pants and can even wear the hoodie on cooler days as well since the saddle/tail combo are removeable.  For his joggers I used the Baby Bear Joggers from Patterns for Pirates (with no alterations/modifications). For his top I used the MEGAMax Raglan from Max and Meena Patterns. I LOVE that this pattern includes alllllll the extra details (like the dino spikes featured here and all kinds of other creatures). For his saddle and tail I used the tail pieces from the MEGAMax Raglan but just hand drew ovals for the saddle and used fabric glue to attach the red to the white. Once the pieces were sewn and glued, I attached the tail to the saddle with snaps and added elastic straps. I wanted the tail to “stand up” like Yoshi so my husband had the genius idea to use a metal hanger bent to hold the tail up while the other half of the hanger is supported behind the saddle. Now the entire saddle/tail piece is easily removable with elastic straps!

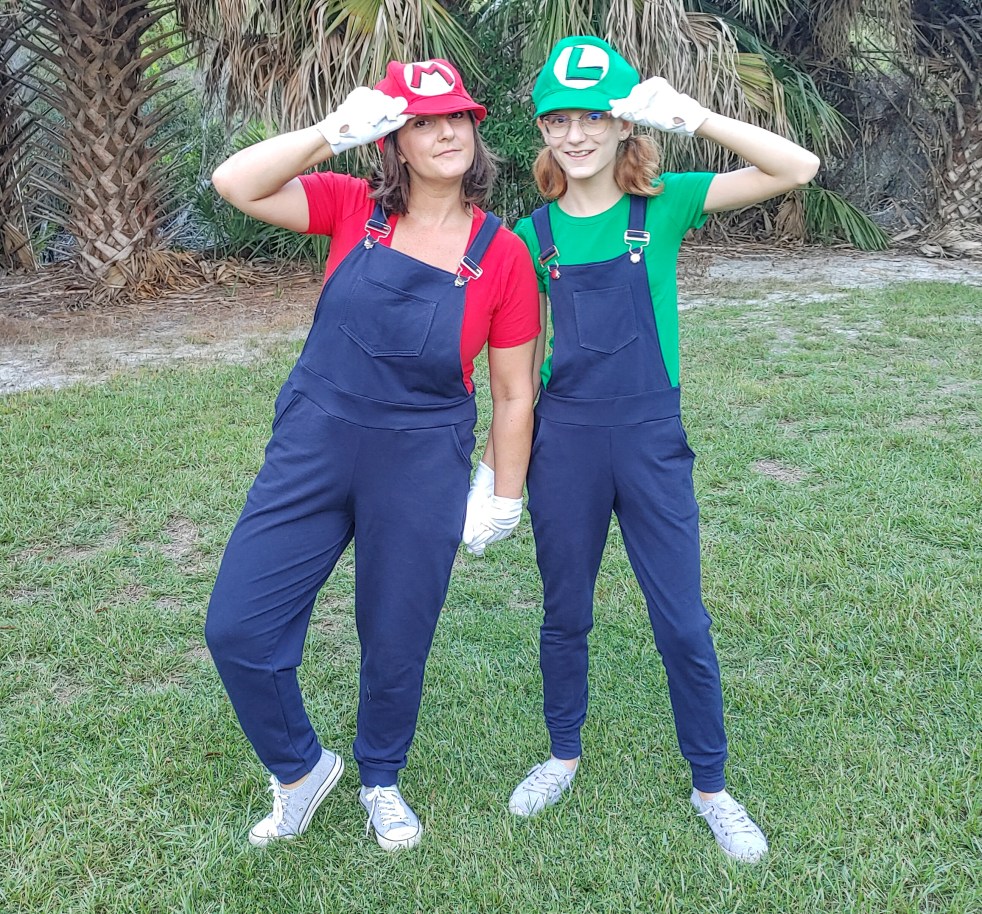
My oldest loves the color green so Luigi was her first pick.  For her costume I wanted to create pieces that were perfect for everyday wear as well because sadly she is too old for the dress up phase now.  She is obsessed with overalls so this pair in French Terry will get weekly use for sure. I used the Zoey & Zeke Overall pattern from Made for Mermaids and paired them with an Arlo Top with crewneck option from Petite Stitchery. For her hat I used the Christopher Newsboy Cap from Create Kids Couture. Since this pattern is drafted for woven fabrics, I interfaced the knit outer pieces and used felt for the lining. I was nervous the hat would not fit well with using a knit fabric but they turned out perfect and hold their shape really well.

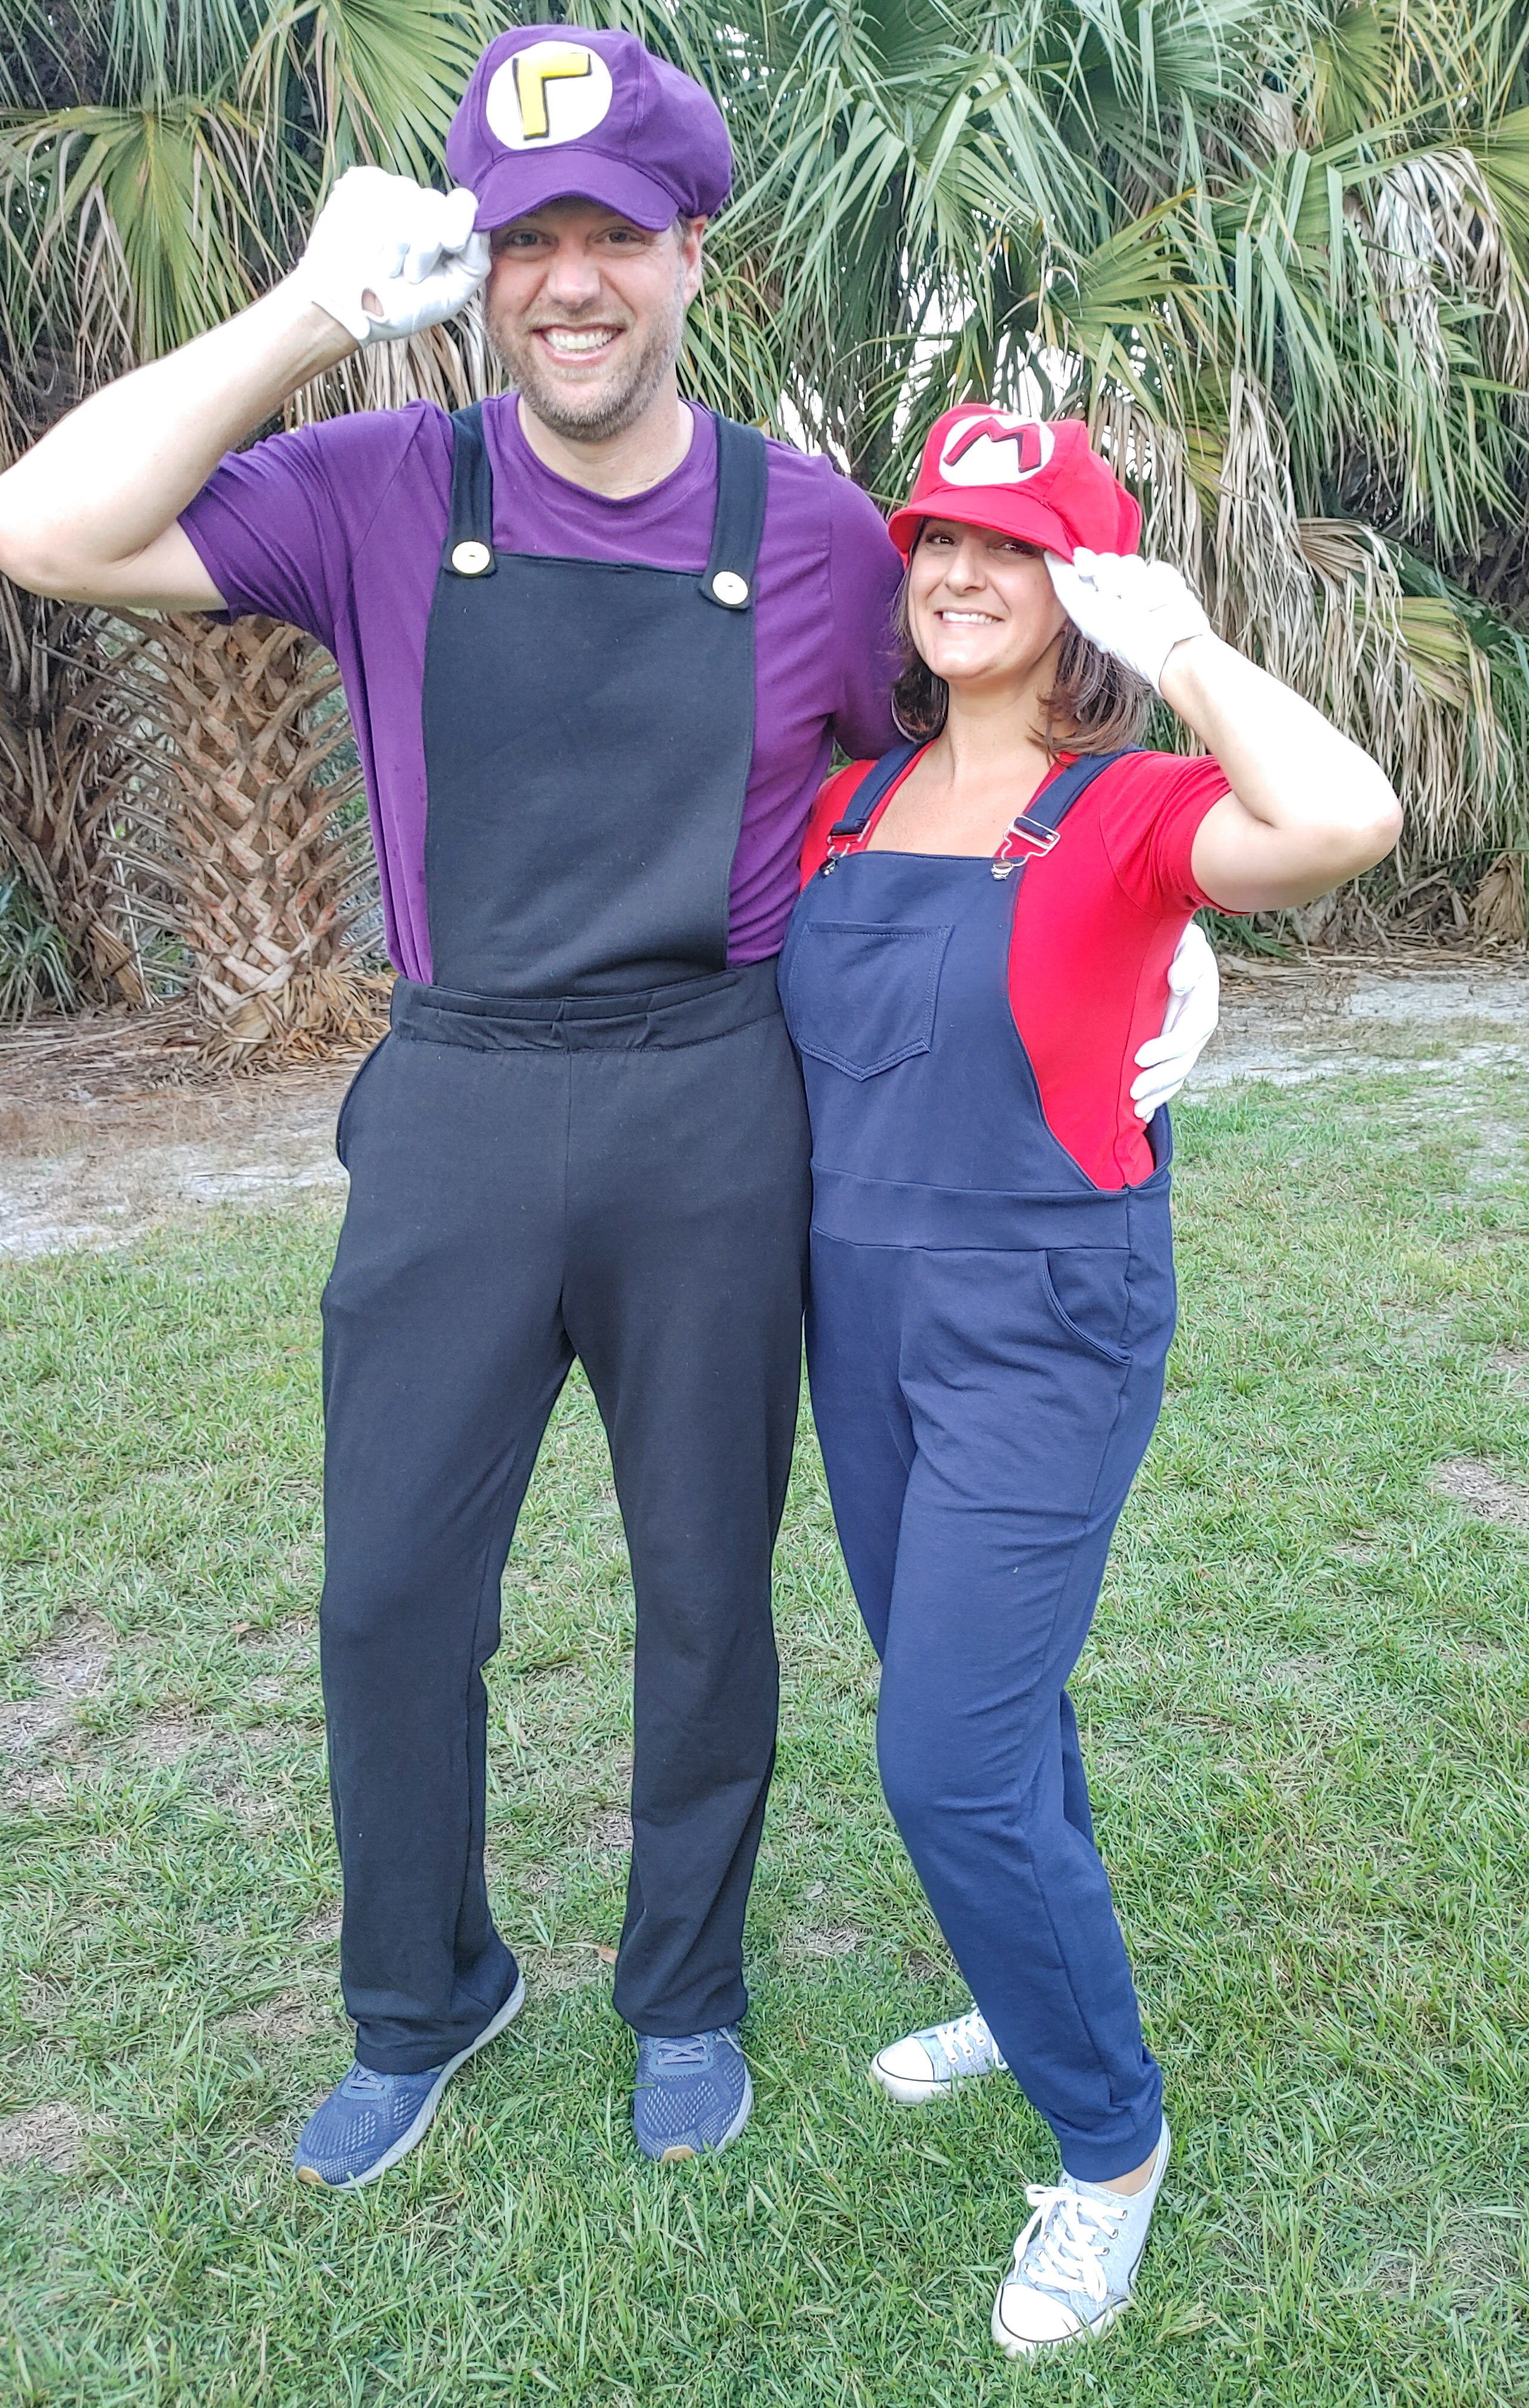
Finally, my husband and myself went with Mario and Waluigi for our costume choices!  I love that both of my pieces are completely versatile for everyday wear just like my daughter’s and will get tons of use in my closet. I also used the Zoey & Zeke Overalls from Made for Mermaids but paired mine with a Favorite Tee from Patterns for Pirates.  My husband can be *ahem* picky about his clothing and I was having a really hard time finding a knit pants pattern for him that wasn’t a jogger style. I finally found and decided on the Fit Pants from Mamma Can Do It. I am so happy I stumbled across this pattern as it is loaded with options for my hubby! I used the classic width and added length for his 6’3″ height. They turned out to be a perfect fit! Since I knew that he would not wear overalls on a regular basis I added a bib and strap to these pants after they were constructed. I simply measured how wide and tall I needed the bib to be while wearing the pants and attached them to the waistband. This way I can easily rip out the stitches after Halloween and he will have a super comfy pair of pants! I paired his overalls with the Straight Fit Basic Tee from Ellie and Mac. I used the same Newsboy Cap pattern for both of our hats and constructed them in the same method as the Luigi hat. We did have a mustache wardrobe malfunction so we just rolled with it anyway!

Finally, we couldn’t leave our sweet pup out of this costume fun! I used the same hat pattern linked above in the newborn size and used all felt for his hat. I added a little stuffing between the layers and straps to hold the hat on his head. He was not thrilled about his adorable Toad hat but we did manage to snap a cute pic anyway! Maybe he will even let us dress him up one more time for a family photo.

I loved being able to feature solid knit fabrics over on the Raspberry Creek Blog today and  I hope you are inspired by these Halloween looks and can’t wait to see what you sew up!  Don’t forget to share in the Facebook group as well😊 

*This post was sponsored and does include some affiliate links but all opinions and views are my own*

Fabric Promo

Sewing for Fall with Raspberry Creek Fabrics

I am so excited to be on the promo team for Raspberry Creek Fabrics this quarter! For my first post I am on the blog bringing you Fall inspiration for sewing with rib knit.

I love all the CLUB fabrics I have purchased from Raspberry Creek Fabrics (especially the French Terry!) and was so excited to see new bases available for CLUB prints.  Rib knit is quickly becoming one of my favorite bases to work with so I knew I had to try RCF CLUB rib. For those unfamiliar with RCF, CLUB fabrics are the in house exclusively printed designs that are released seasonally.

I have been swooning over the Teal Watercolor Floral print in the Forever Collection and it has the perfect coloring for Fall sewing.  This fabric is available in both the rib knit I used and in the double brushed poly base.  Both of these fabric bases are a 9 oz weight and have 4 way stretch.  I find the rib knit to be more breathable and a little lighter for clothing than the double brushed poly base.

I wanted to sew up two completely different looks with this fabric to show just how versatile it is!  First, I sewed an Aaronica Romper from Made for Mermaids for my oldest daughter.  This pattern offers so many options including shorts, capri, pants and skirt as well as multiple sleeve lengths. The pants option make it perfect for transitioning to Fall but the short sleeves and back cut-out keep her cool enough in the waning summer heat as well. It is always a little tricky to sew for her since she’s so tall (same height as me now!) but so thin. I graded this pattern into a size 10 chest, size 8 waist and hips and a size 14 length. It was easier to grade than I expected but I did need to adjust the back elastic to be smaller for her. Once I adjusted the back elastic the romper fit her perfectly and is just so flattering on her!

Next, I sewed a leotard for my youngest daughter.  I chose the elbow length sleeves to make this a staple piece this Fall with knee socks and boots or a pair of skinny jeans.  I used the Juliet pattern from Petite Stitchery for her leotard. She is so petite at 3.5 years old that she is just now fitting into the 2T size on PSCO patterns! I did not need to do any grading for her leotard and can’t wait to layer it this Fall and Winter. Since this fabric would be a bit warm lined I opted for the leg and neck bands instead of fully lining it.

I loved being able to feature rib knits over on the Raspberry Creek Blog today and  I hope you are inspired by these looks and can’t wait to see what you sew up with CLUB rib knits!  Don’t forget to share in the Facebook group as well😊 

*This post was sponsored and does include some affiliate links but all opinions and views are my own*

Sewing Tutorials

Knotted Bow Headband Tutorial

Have you seen the cute new knotted bow headbands in all the stores?  My girls are obsessed with them and turns out they are super simple and quick to make!  I made several this week for them and put together this easy tutorial so you can make them too.

You will need the following supplies:

0915201446

-Basic sewing machine & sewing supplies (needle, thread, straight edge etc)

-Fabric, stretch fabric is recommended but not necessary, cut to 5″ wide and 15″ long

-Ribbon in 7/8″ width and coordinating color:  2 pieces cut to 2 inches each with ends heat sealed with a lighter to prevent fraying

-Blank plastic headband (I grabbed 1″ size here)

-Hot glue/glue gun

-PDF pattern piece below with 2 pieces of fabric cut on the fold for the knotted bow:

Headband Tutorial Pattern Piece

First, you will sew the 5″ x 15″ strip of fabric right sides together down the long side as shown clipped below.  After it is sewn you will turn it right side out and set it aside.

PSX_20200917_151300

Next, you will sew your knotted bow.  You will pin or clip these right sides together and sew all the way around leaving a 2-3 inch gap (shown circled below) open.  Turn this right side out through the open hole and and be sure to poke out the corners well.  Then, sew the gap closed with a straight stitch and set this aside.  **Please note I am not a pattern designer, this is a hand drawn pattern piece that I traced in my Silhouette software and converted to a PDF so it is not fancy but it does the job**

PicsArt_09-16-05.24.13

Next, you will assemble your headband.  Slide the headband into the strip of fabric we have sewn.  Be sure your seam is centered on the inside of the band.  You will dab a small amount of hot glue to both ends on both inside and outside to hold the fabric in place.  After that fold each side over to the outside (very important as if you fold to the inside it will hurt behind your ears) and dab glue to hold this in place.  You will be sandwiching it together creating a fold/pleat on the outside as shown in the middle picture below.  Finally, you will glue the pieces of grosgrain ribbon on the ends.

Your headband will look like this after gluing the fabric and ribbon on to the ends.  It has a slouchy look which can be completely customized.  You can adjust your fabric size to your preference to be slouchier, a more snug fit, etc.

0915201503a

Lastly, tie your knotted bow piece onto the headband and you are finished!  This piece is also completely customizable.  You can make the end pointier or more rounded or you can lengthen the piece in the middle for a longer knot (lengthening is recommended if using a non stretch fabric for your knot).

0915201505a

Now, go make all the headbands and have fun with it!

PSX_20200917_151322

Craft Tutorials

DIY Embroidery Hoop Ornament

I have been obsessing over embroidery hoops lately.  I love them for wreaths, wall decor, just about anything!  When we started decorating for Christmas this year I knew I wanted to incorporate them into our tree as ornaments.  These were SO quick and easy so I put together a quick tutorial for you to add these to your Christmas tree too!

First, we need to get together our materials.  You will need the following:

*Fabric, Approx 1/4 Yard:  I used a buffalo plaid flannel from Joann

*3″ or 4″ Embroidery Hoops:  I got a 10 pack of 3″ hoops from Amazon Here

*Heat Transfer Vinyl

*Twine or String of Your Choice

*Optional:  Spray Paint, Additional Decorative Accents such as Greenery

1202181616b_edited

I opted to spray paint my hoops gold to match my color theme on the tree.  After the hoops are painted you will trace the hoop onto paper to make a template for cutting your fabric.  Add approx 1/4″ to your circle to allow room for the fabric to be pulled taut into the ring. Once you have your template go ahead and cut your fabric.  I found it easier to cut on the fold to get a more uniform circle.  Cut your heat transfer vinyl designs as well.  I used the same design on all 10 of my ornaments and purchased it in the Silhouette Design Store.

1203180950a_edited

After you have everything cut and heat pressed you add them to the hoops.  Be sure the design is centered and the fabric is pulled taut before tightening your hoops.  After they are all put together I went ahead and cleaned up the backs by heat sealing the frayed threads.  I also needed to add just a dab of hot glue to the tops under the screws to keep the fabric laying flat in that tiny spot.  Finish them off by tying twine or other string to the tops to hang them on the tree.  You can also add greenery or other decorative accents if you desire.

1203181329_edited


1203181357


These ornaments look so pretty on our Christmas tree and tie the colors together so perfect!  I can’t believe how fast and easy there were to make, I will be adding more of these soon.  I can’t wait to see what you create for your embroidery hoop ornaments as well.

Merry Christmas!