Pattern Reviews · Sewing Tutorials

Sewing for Halloween: Inside Out

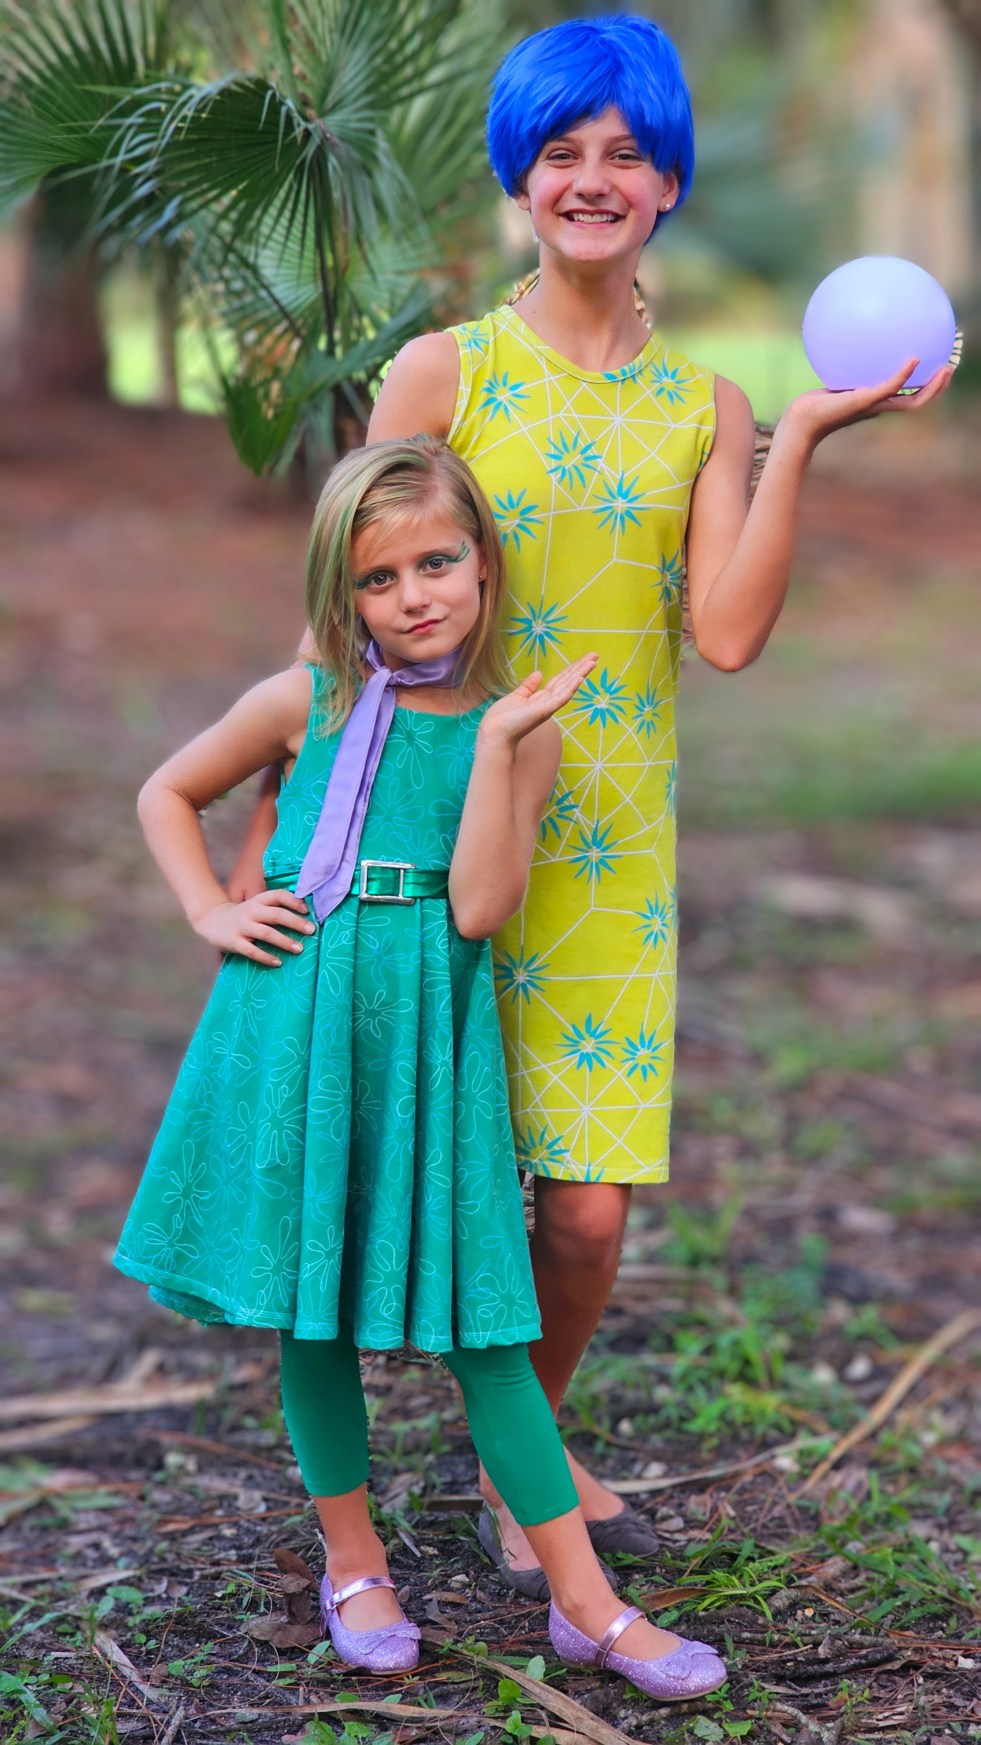
 My family does themed Halloween costumes most years and my two youngest wanted to go with an Inside Out theme this year! They picked Joy and Disgust as the characters for their costumes and both fully embraced these personalities!

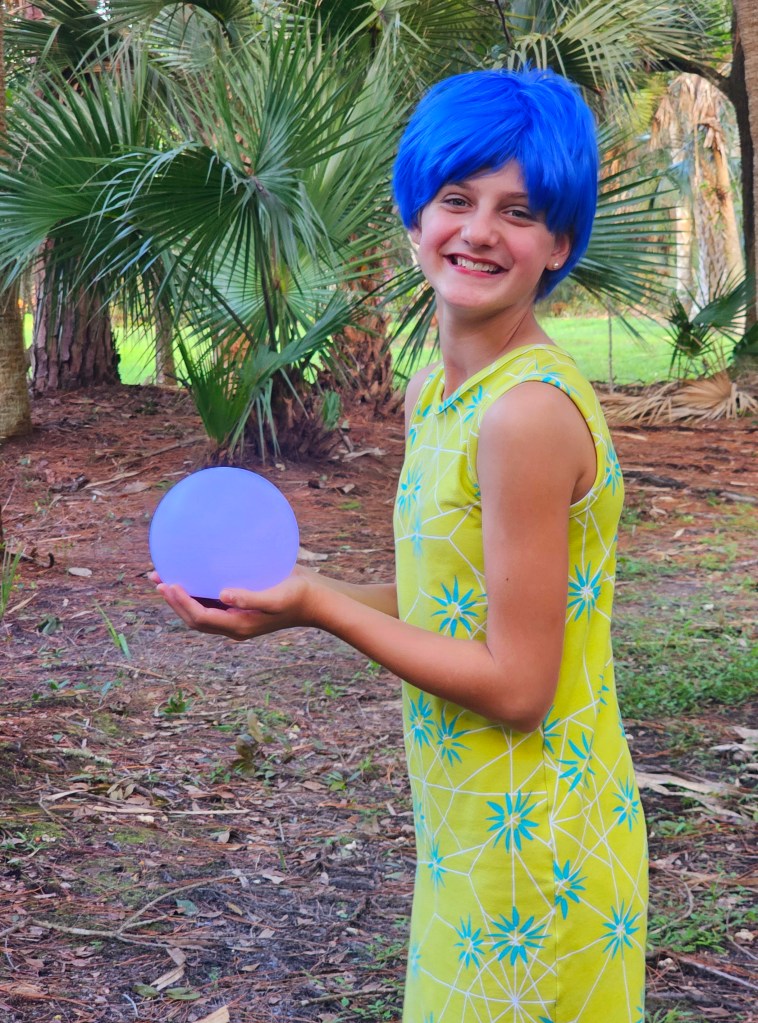
I used all Simple Life patterns for both costumes. I used the Quinn and Energize patterns for Disgust and Autumn for Joy. I used the simple version of Energize in the capri length and did the circle skirt (not high low version) of Quinn. I then added a quick belt using scraps of fabric, thick interfacing and a belt loop that I had on hand to match. For her neck scarf I upcycled the satin lining of a ripped up tutu in my girls’ dress up box. I also used the simple version of Autumn for Joy’s costume (which is by far the easiest costume I have ever sewn). To complete the look for Joy we bought an LED light (with remote) from 5 Below and a wig on Amazon. Both costume fabrics are from Purple Seamstress and were just perfect for re-creating these looks!

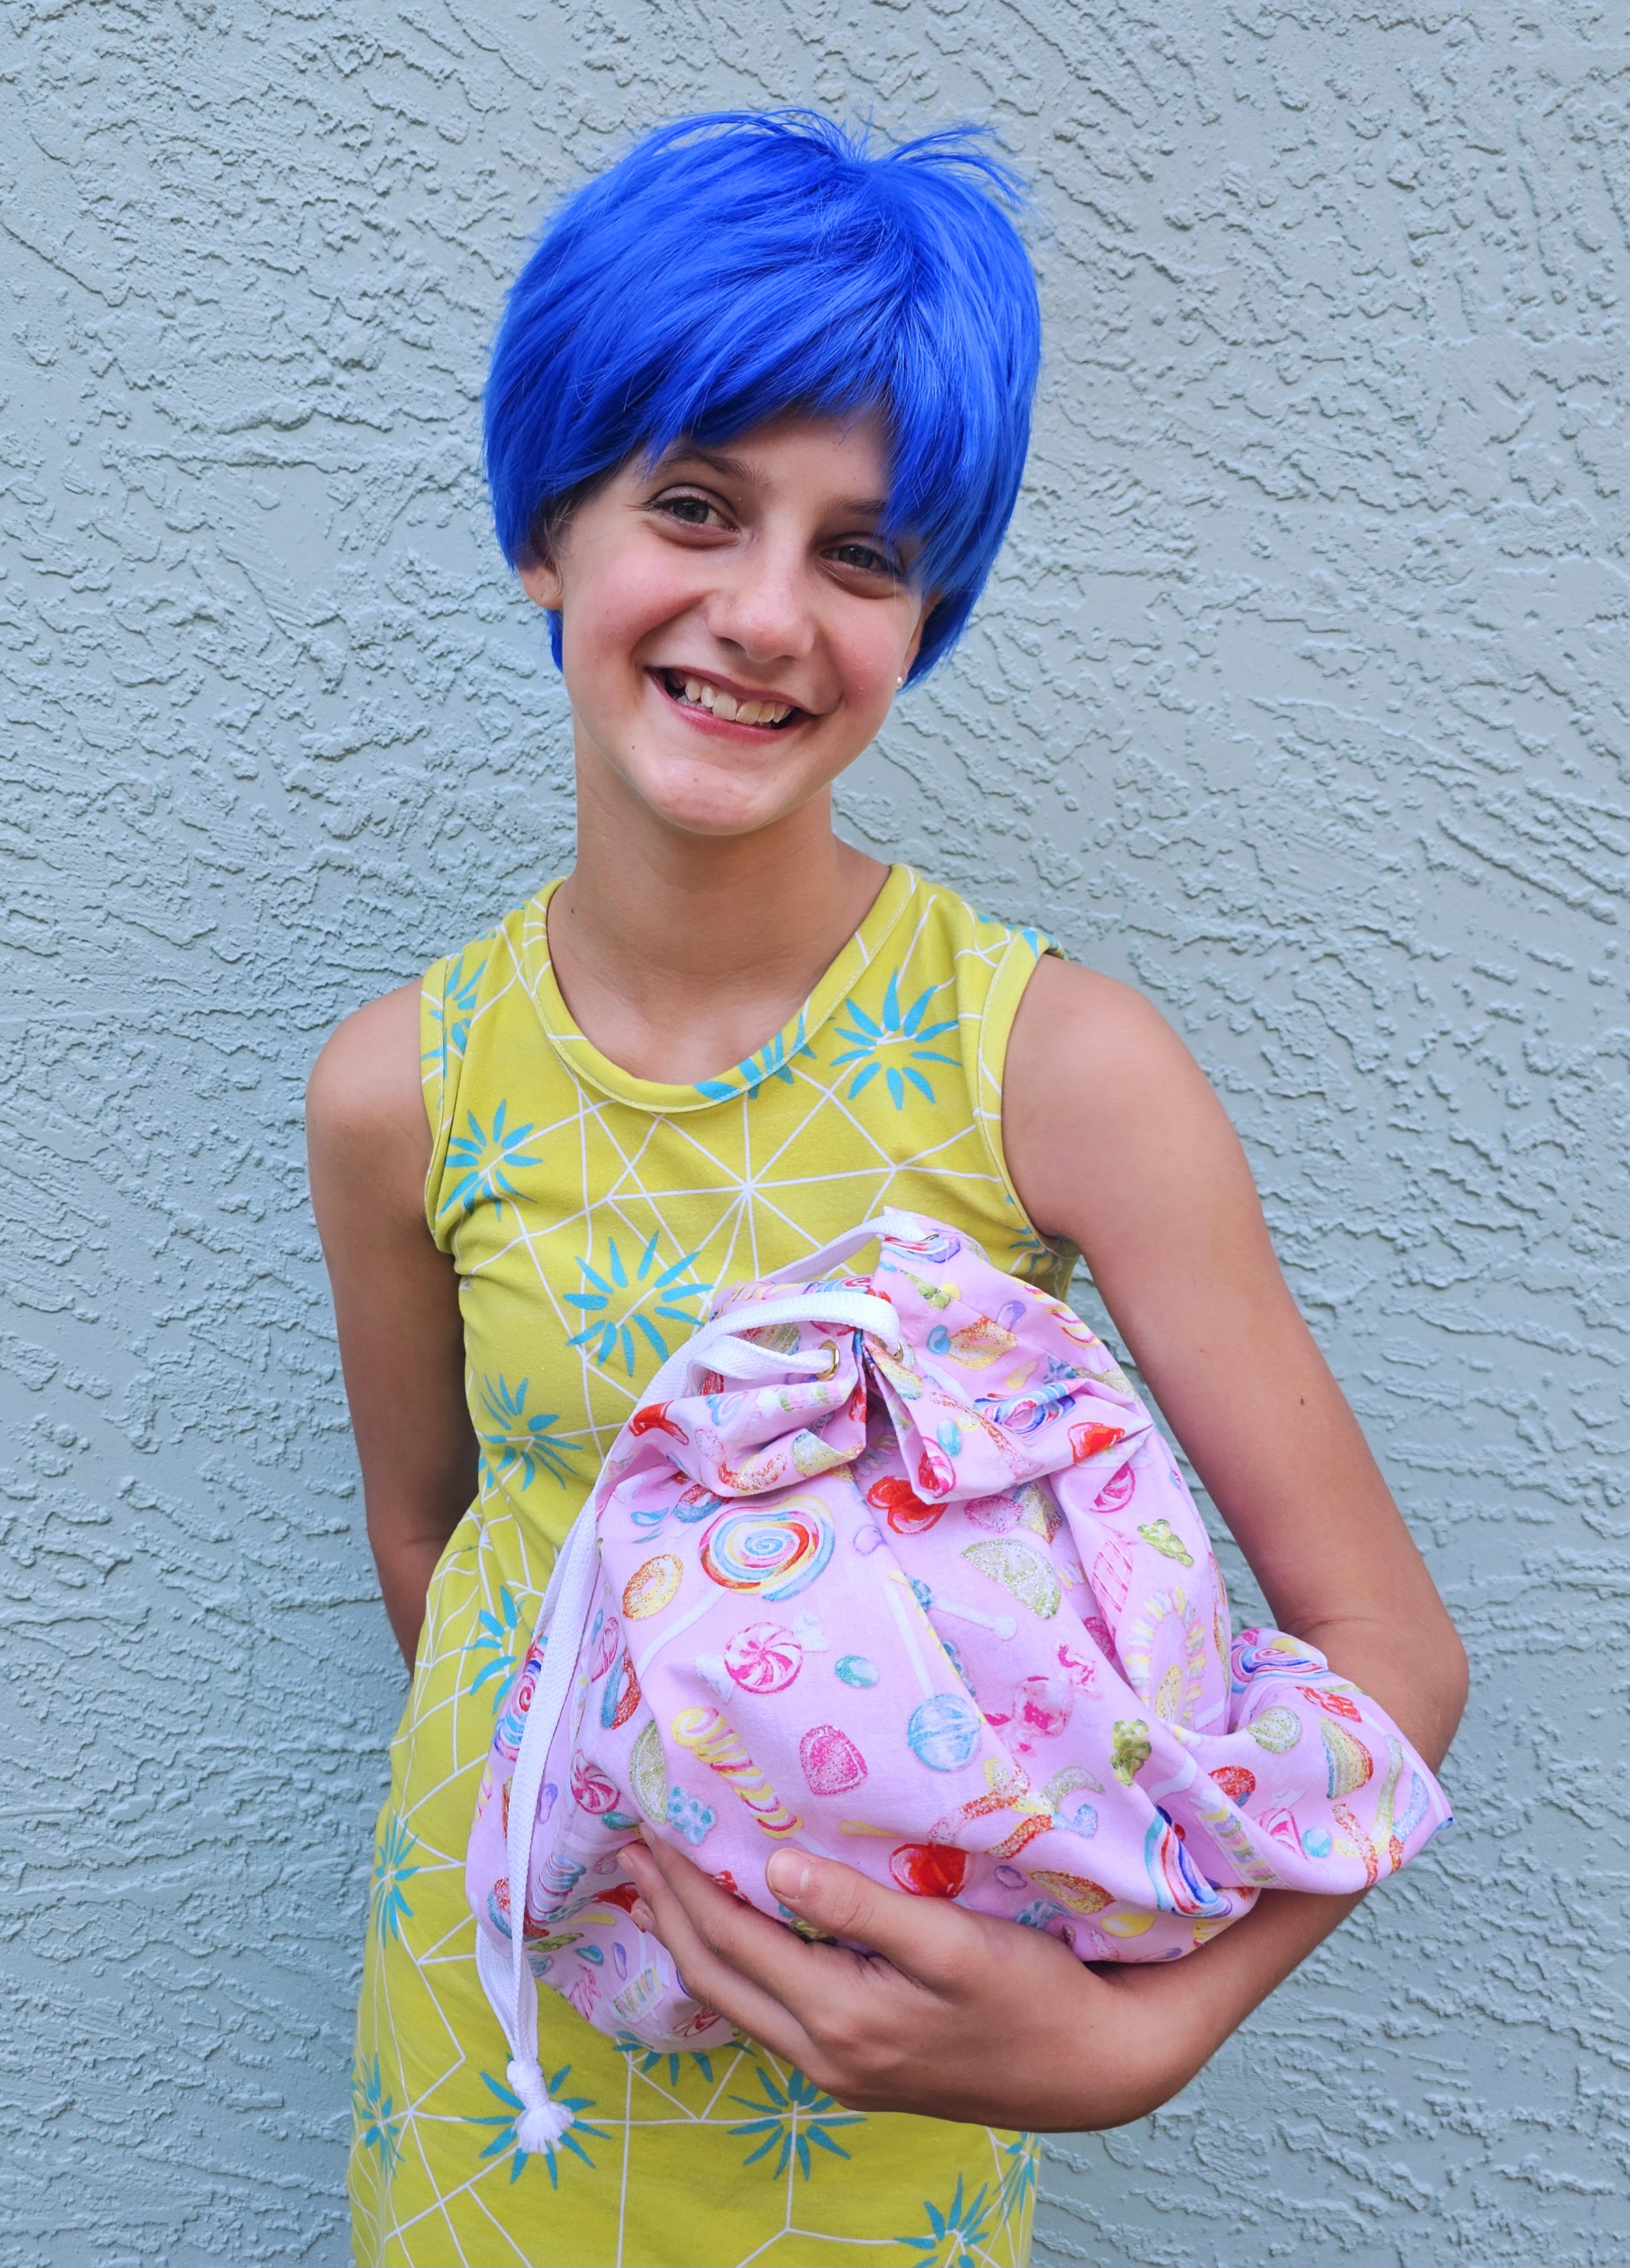
My daughter also asked me to re-create Bing Bong’s Bottomless bag to use as her trick or treating bag to match her costume. I loved her idea so much! I found similar candy themed fabric at Hobby Lobby and I wrote up a blog post for Simple Life with a free tutorial on a cinch bag using 2 different methods to complete her look. Now both girls have new trick or treat bags in the Inside Out theme. Head over here and check out the EASY and free tutorial to sew up your own cinch bag.

I just love sewing up our family costumes every Halloween and can’t wait to see what next year has in store! I hope you are inspired for your costumes and I would love to have you follow me on Instagram for my sewing adventures as well!

*This post does include some affiliate links but all opinions and views are my own*

Craft Tutorials

Easy DIY Coaster Tutorial

I recently made some coasters for Christmas gifts and they were such a hit!  Many have asked how to make them and they are SO simple that I thought I would throw together a quick tutorial for you all!

You will need the following supplies:

0120221706a

-Hot Glue Gun or Permanent Glue of Choice (Such as Tacky Glue, E6000, etc)

-Scrapbook Paper

-Felt

-Mod Podge & Foam Brush for Application

-Acrylic Water Resistant Sealant Spray (such as this one)

-Blank Ceramic Tiles (I like the 4×4 size such as these)

First, you will cut your scrapbook paper the correct size for your tiles being sure you have a tiny edge of tile peeking out evenly on all sides.  If your paper fully covers the top of the tile without that edge the paper will not adhere nicely around the edges.  I cut my paper to a 4×4 square size and made 6 coasters at a time.  I also like to mix and match my paper prints instead of using all one matching print!  Once your paper is cut you will spread a thin even layer of Mod Podge onto the surface of the tile.  Carefully smooth your scrapbook square on top of the Mod Podge layer (working from the middle out to the edges) being sure you do not have any air bubbles.  Once you are happy with the placement of your paper you will spread another thin even layer of Mod Podge on top.  Be sure to go all the way to the edge and clean any drips that go over the sides before it dries.  After that layer dries fully you will apply 1-2 more coats being sure they are thin even layers. 

0120221747

Next, after your Mod Podge is finished you will seal the coasters!  Be sure you are in a WELL ventilated area ( I like to do this step outdoors).  Spray the tops of each coaster being sure to use a thin even coating and apply 2-3 total coats being sure to let it fully dry between layers.  It is SUPER important not to skip the water resistant sealant or your cups will stick to the coasters (ask me how I know….).  

After the sealant dries you are almost finished!  The final step is to put backing onto the tiles so they don’t scratch up your furniture.  I have used both thin cork and felt for this step and highly prefer the felt.  You will cut your felt to size like you did with your scrapbook paper.  I cut my felt into 4×4 squares and then glued it onto the back of the tile.  You can use your glue of choice and I have found that Tacky Glue has given the best results for my coasters but have also used hot glue.  Now, go make all the coasters and have fun with it!

~Amanda~


Sewing Tutorials

Knotted Bow Headband Tutorial

Have you seen the cute new knotted bow headbands in all the stores?  My girls are obsessed with them and turns out they are super simple and quick to make!  I made several this week for them and put together this easy tutorial so you can make them too.

You will need the following supplies:

0915201446

-Basic sewing machine & sewing supplies (needle, thread, straight edge etc)

-Fabric, stretch fabric is recommended but not necessary, cut to 5″ wide and 15″ long

-Ribbon in 7/8″ width and coordinating color:  2 pieces cut to 2 inches each with ends heat sealed with a lighter to prevent fraying

-Blank plastic headband (I grabbed 1″ size here)

-Hot glue/glue gun

-PDF pattern piece below with 2 pieces of fabric cut on the fold for the knotted bow:

Headband Tutorial Pattern Piece

First, you will sew the 5″ x 15″ strip of fabric right sides together down the long side as shown clipped below.  After it is sewn you will turn it right side out and set it aside.

PSX_20200917_151300

Next, you will sew your knotted bow.  You will pin or clip these right sides together and sew all the way around leaving a 2-3 inch gap (shown circled below) open.  Turn this right side out through the open hole and and be sure to poke out the corners well.  Then, sew the gap closed with a straight stitch and set this aside.  **Please note I am not a pattern designer, this is a hand drawn pattern piece that I traced in my Silhouette software and converted to a PDF so it is not fancy but it does the job**

PicsArt_09-16-05.24.13

Next, you will assemble your headband.  Slide the headband into the strip of fabric we have sewn.  Be sure your seam is centered on the inside of the band.  You will dab a small amount of hot glue to both ends on both inside and outside to hold the fabric in place.  After that fold each side over to the outside (very important as if you fold to the inside it will hurt behind your ears) and dab glue to hold this in place.  You will be sandwiching it together creating a fold/pleat on the outside as shown in the middle picture below.  Finally, you will glue the pieces of grosgrain ribbon on the ends.

Your headband will look like this after gluing the fabric and ribbon on to the ends.  It has a slouchy look which can be completely customized.  You can adjust your fabric size to your preference to be slouchier, a more snug fit, etc.

0915201503a

Lastly, tie your knotted bow piece onto the headband and you are finished!  This piece is also completely customizable.  You can make the end pointier or more rounded or you can lengthen the piece in the middle for a longer knot (lengthening is recommended if using a non stretch fabric for your knot).

0915201505a

Now, go make all the headbands and have fun with it!

PSX_20200917_151322

Craft Tutorials

DIY Embroidery Hoop Ornament

I have been obsessing over embroidery hoops lately.  I love them for wreaths, wall decor, just about anything!  When we started decorating for Christmas this year I knew I wanted to incorporate them into our tree as ornaments.  These were SO quick and easy so I put together a quick tutorial for you to add these to your Christmas tree too!

First, we need to get together our materials.  You will need the following:

*Fabric, Approx 1/4 Yard:  I used a buffalo plaid flannel from Joann

*3″ or 4″ Embroidery Hoops:  I got a 10 pack of 3″ hoops from Amazon Here

*Heat Transfer Vinyl

*Twine or String of Your Choice

*Optional:  Spray Paint, Additional Decorative Accents such as Greenery

1202181616b_edited

I opted to spray paint my hoops gold to match my color theme on the tree.  After the hoops are painted you will trace the hoop onto paper to make a template for cutting your fabric.  Add approx 1/4″ to your circle to allow room for the fabric to be pulled taut into the ring. Once you have your template go ahead and cut your fabric.  I found it easier to cut on the fold to get a more uniform circle.  Cut your heat transfer vinyl designs as well.  I used the same design on all 10 of my ornaments and purchased it in the Silhouette Design Store.

1203180950a_edited

After you have everything cut and heat pressed you add them to the hoops.  Be sure the design is centered and the fabric is pulled taut before tightening your hoops.  After they are all put together I went ahead and cleaned up the backs by heat sealing the frayed threads.  I also needed to add just a dab of hot glue to the tops under the screws to keep the fabric laying flat in that tiny spot.  Finish them off by tying twine or other string to the tops to hang them on the tree.  You can also add greenery or other decorative accents if you desire.

1203181329_edited


1203181357


These ornaments look so pretty on our Christmas tree and tie the colors together so perfect!  I can’t believe how fast and easy there were to make, I will be adding more of these soon.  I can’t wait to see what you create for your embroidery hoop ornaments as well.

Merry Christmas!