Craft Tutorials

Easy DIY Coaster Tutorial

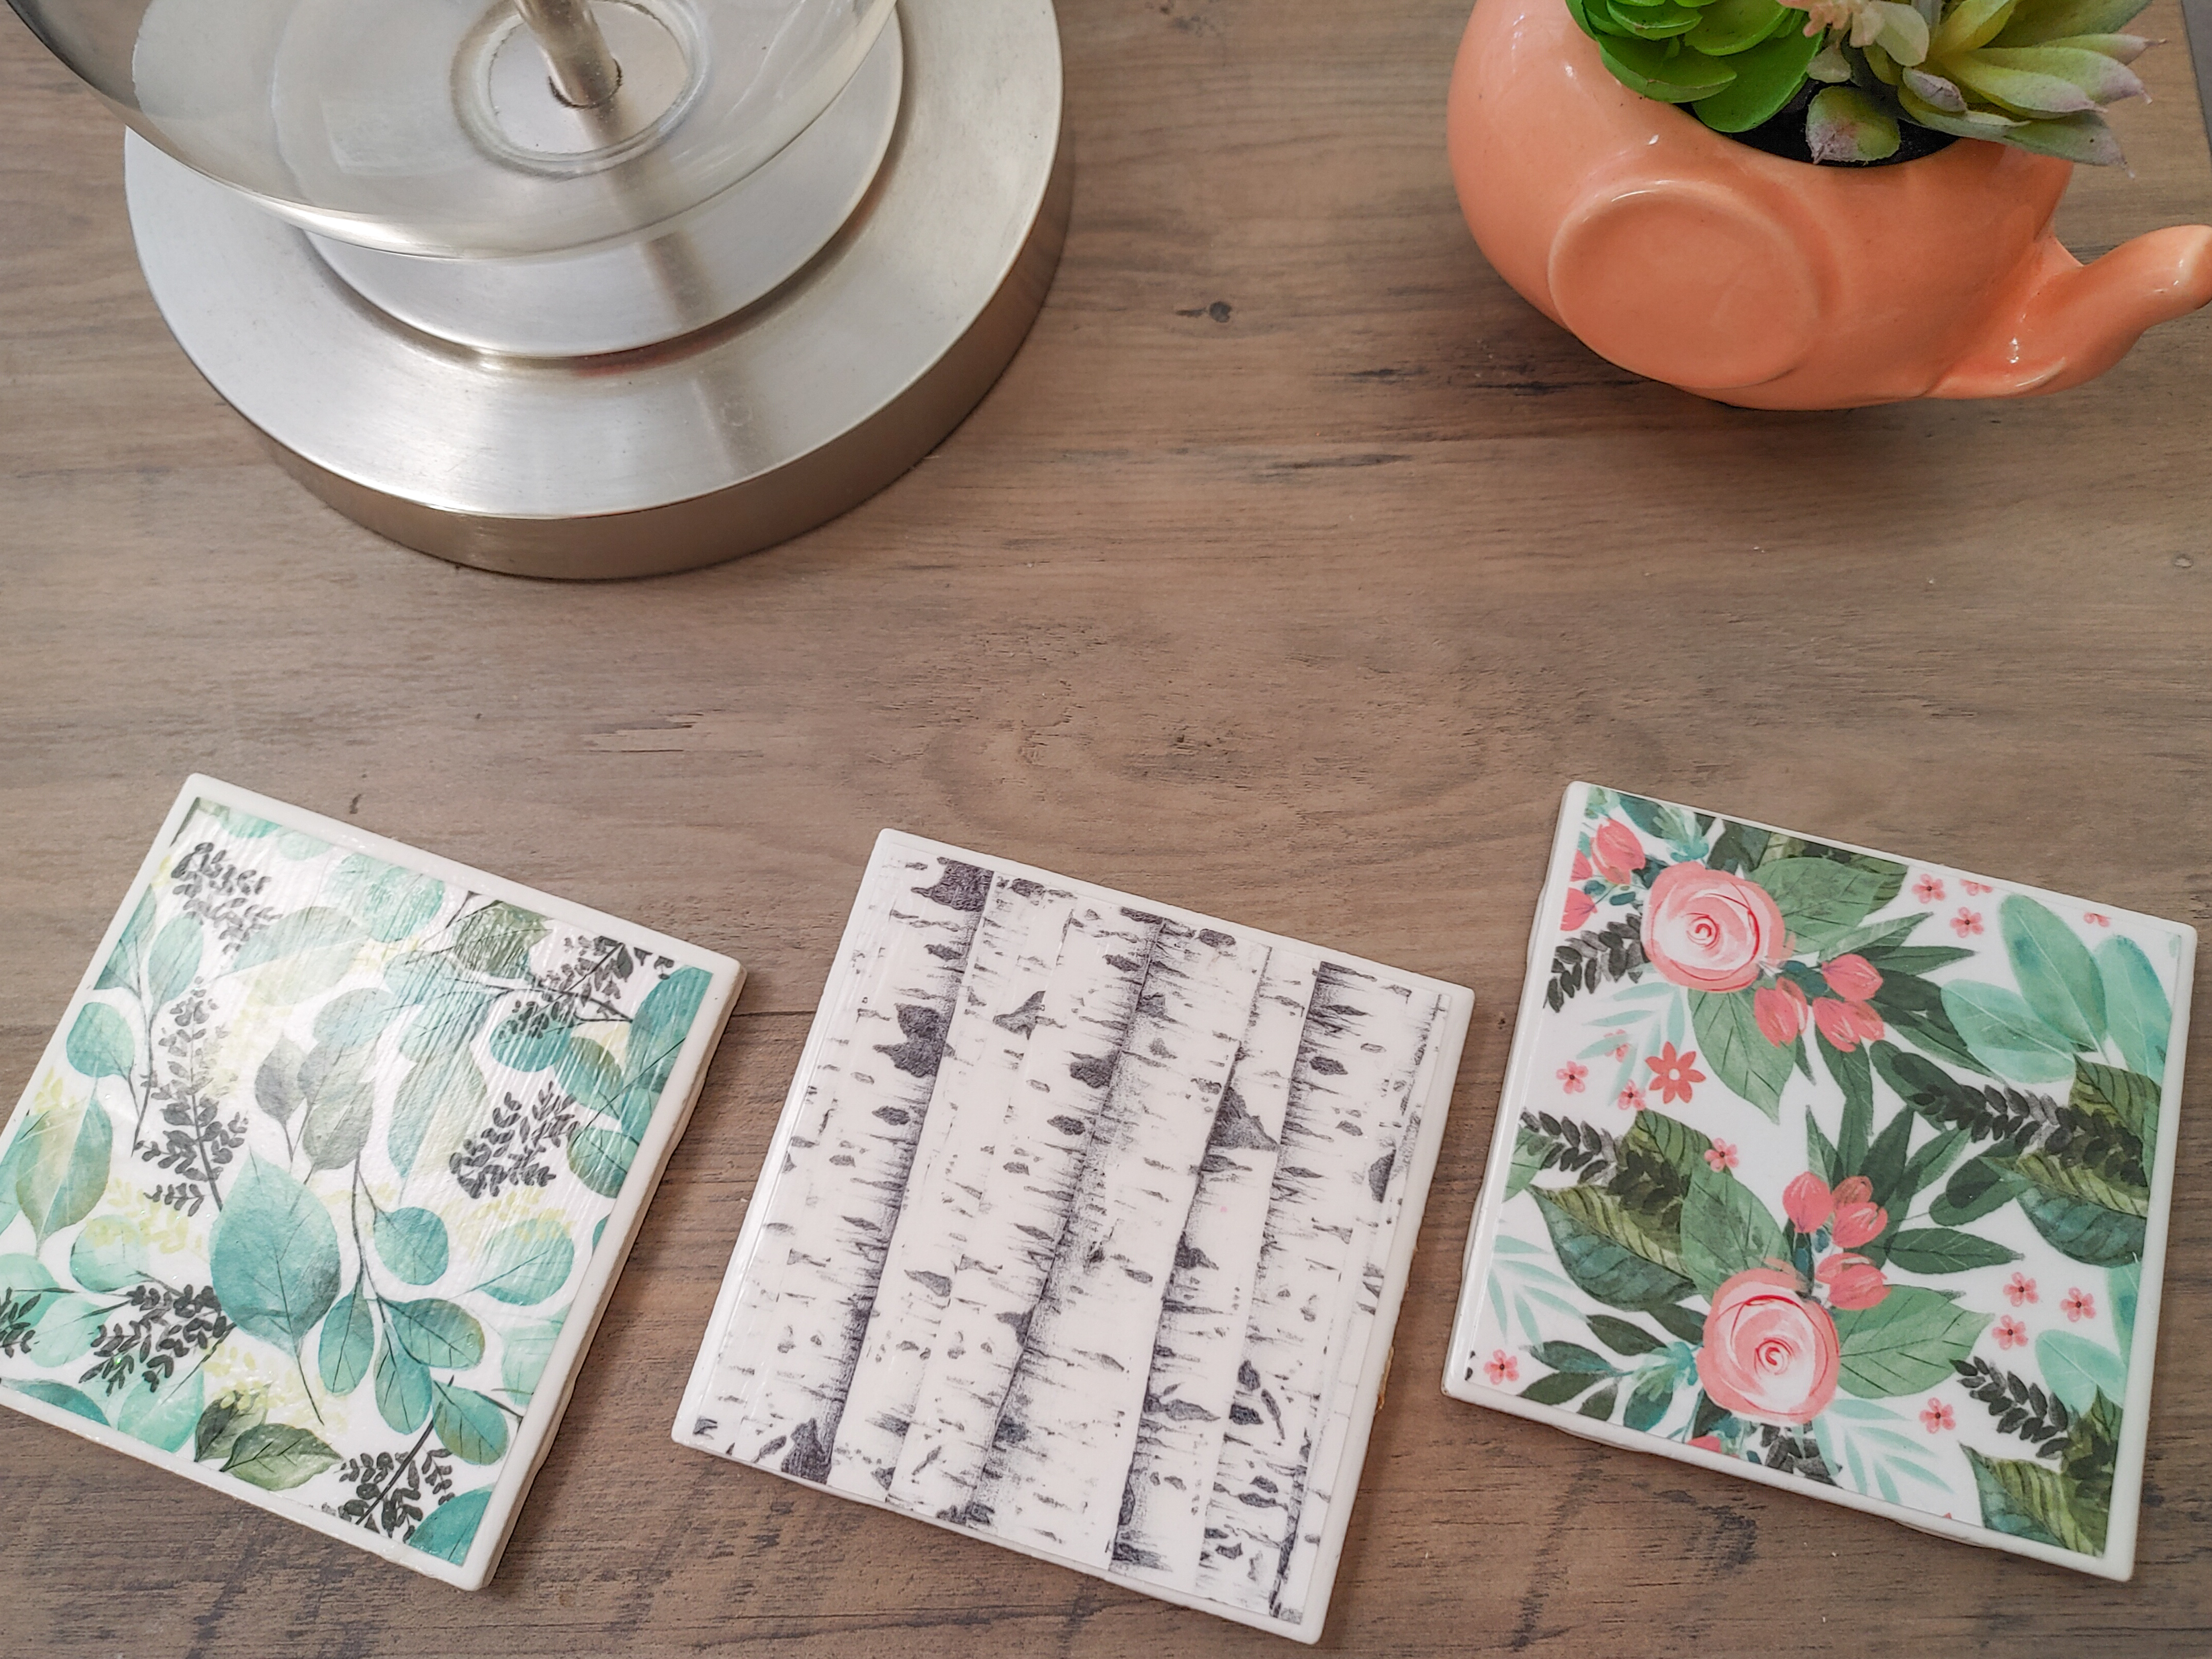
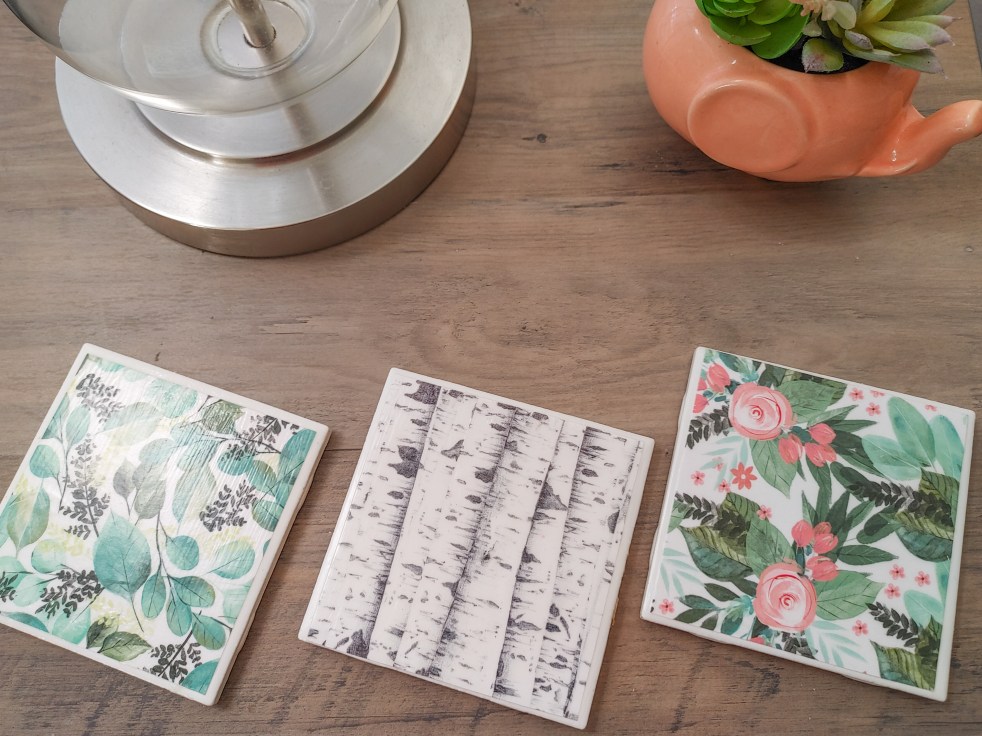
I recently made some coasters for Christmas gifts and they were such a hit!  Many have asked how to make them and they are SO simple that I thought I would throw together a quick tutorial for you all!

You will need the following supplies:

0120221706a

-Hot Glue Gun or Permanent Glue of Choice (Such as Tacky Glue, E6000, etc)

-Scrapbook Paper

-Felt

-Mod Podge & Foam Brush for Application

-Acrylic Water Resistant Sealant Spray (such as this one)

-Blank Ceramic Tiles (I like the 4×4 size such as these)

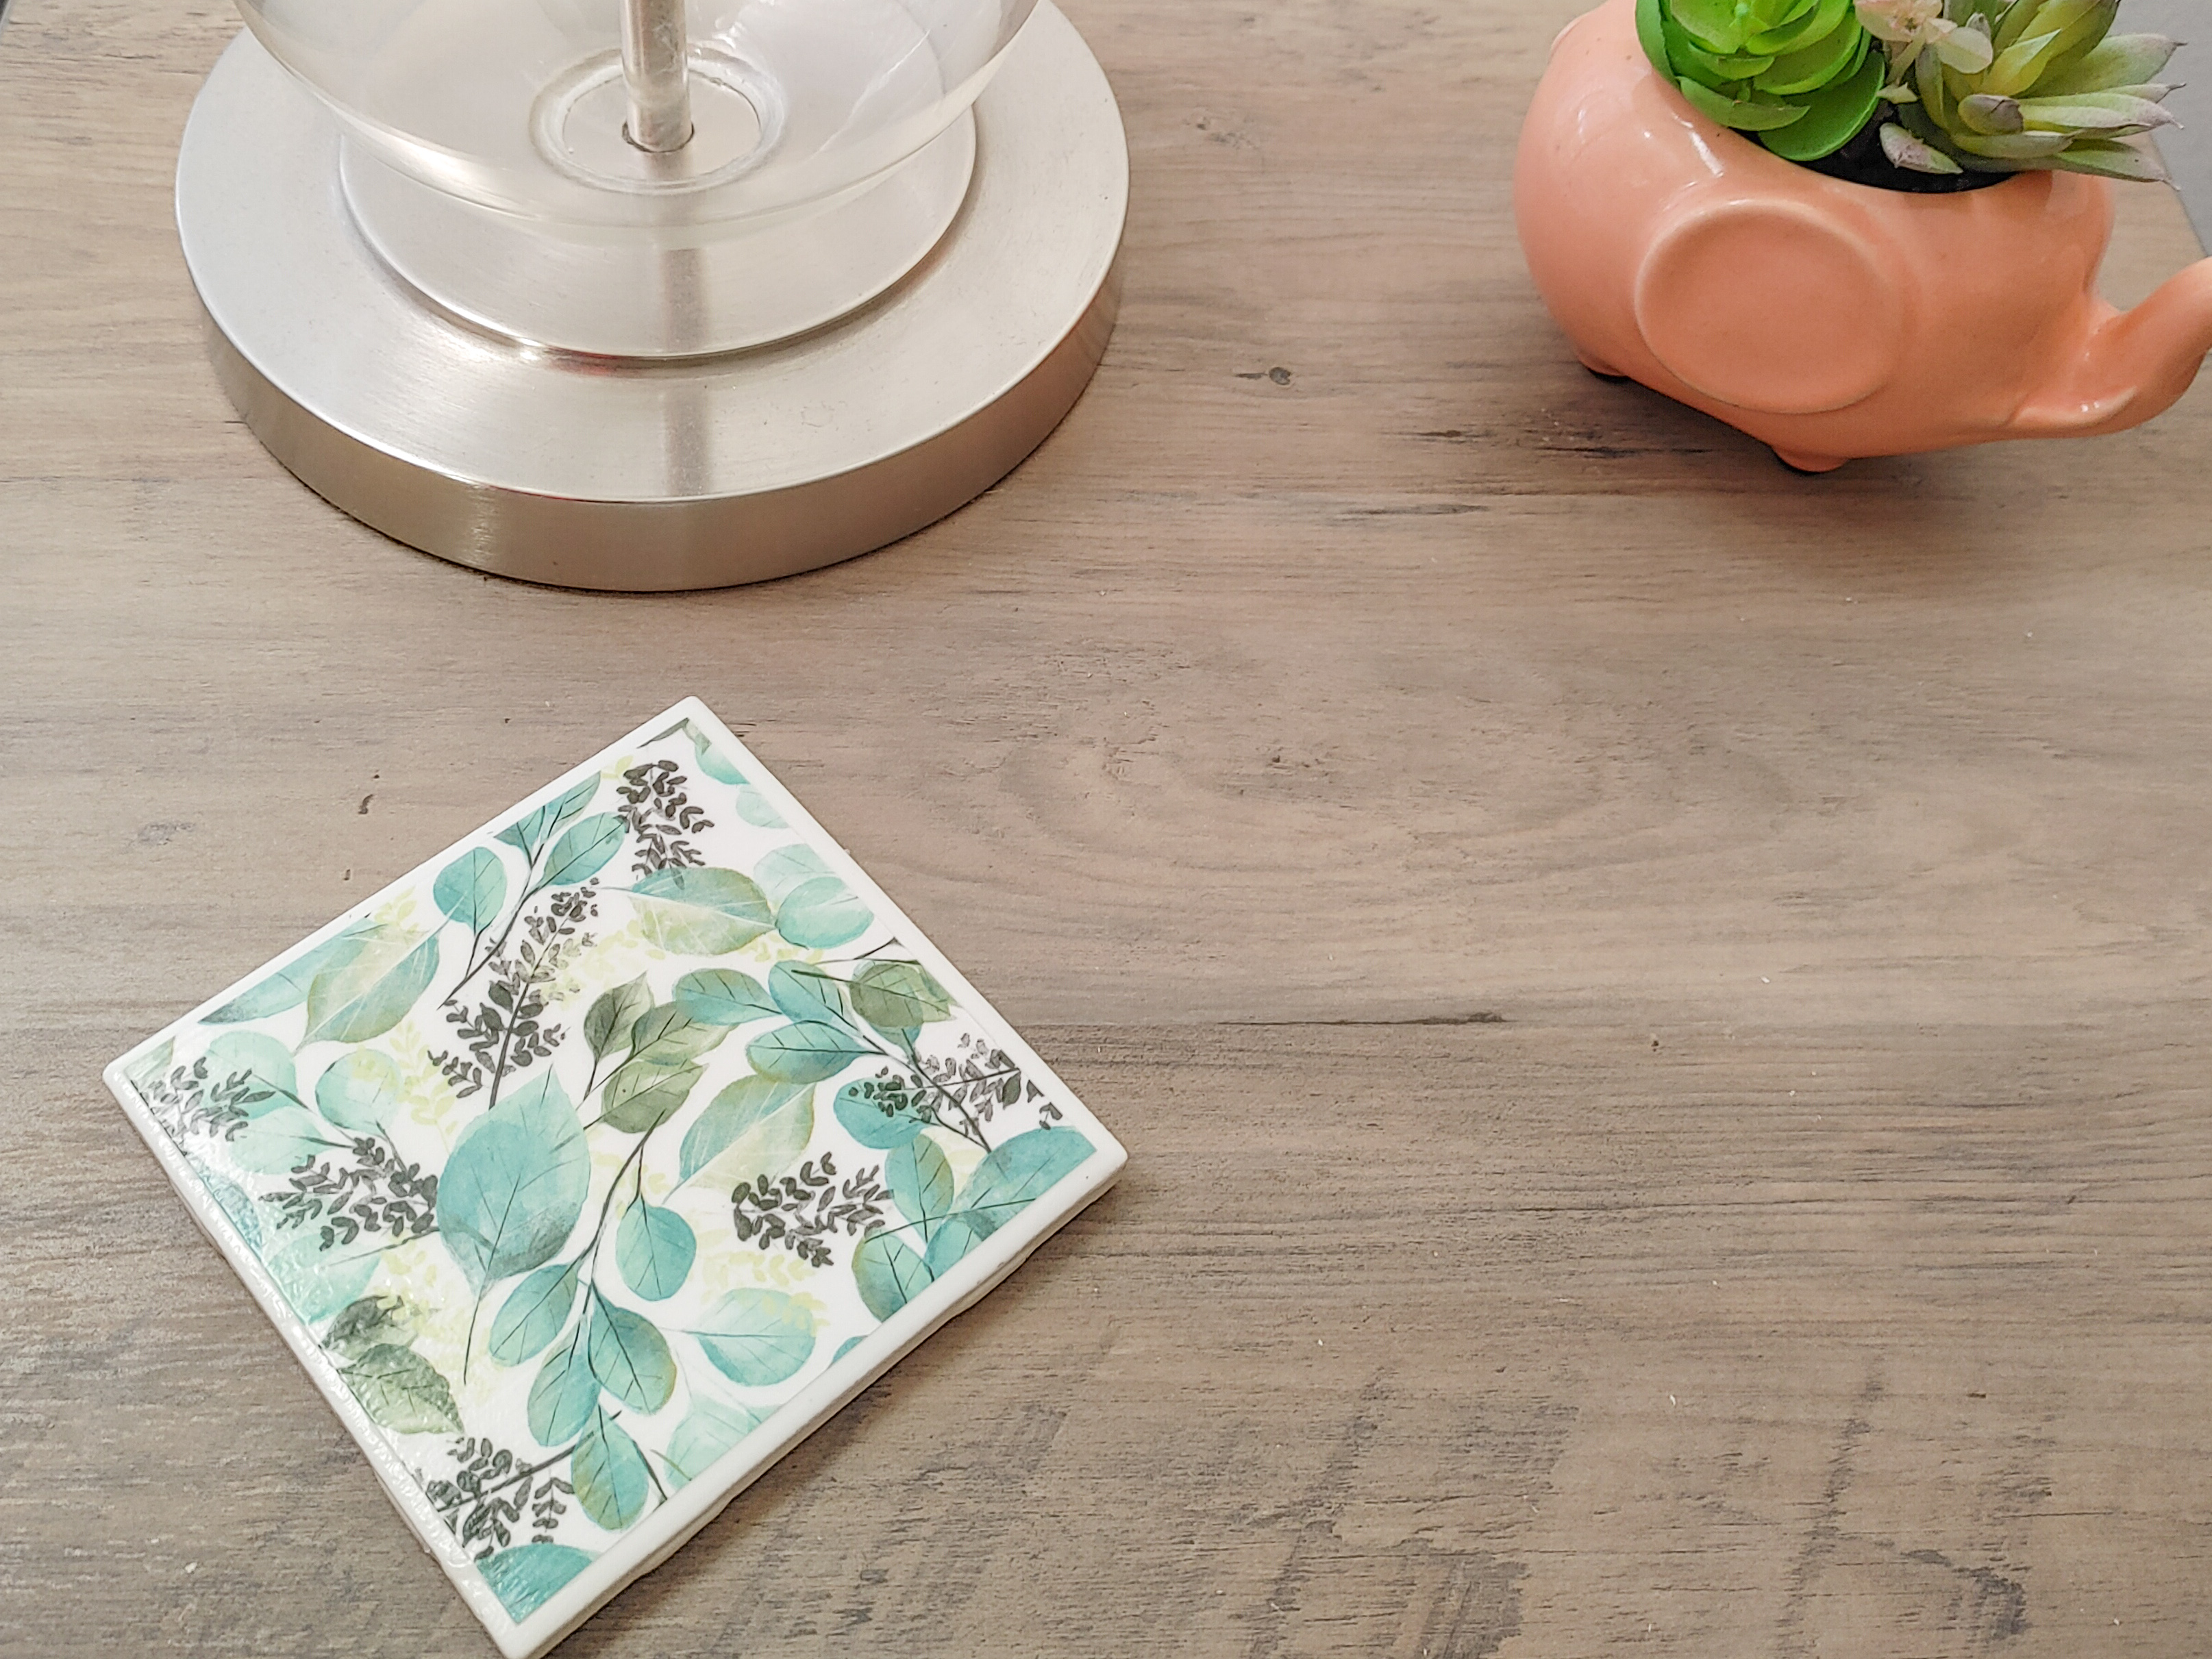
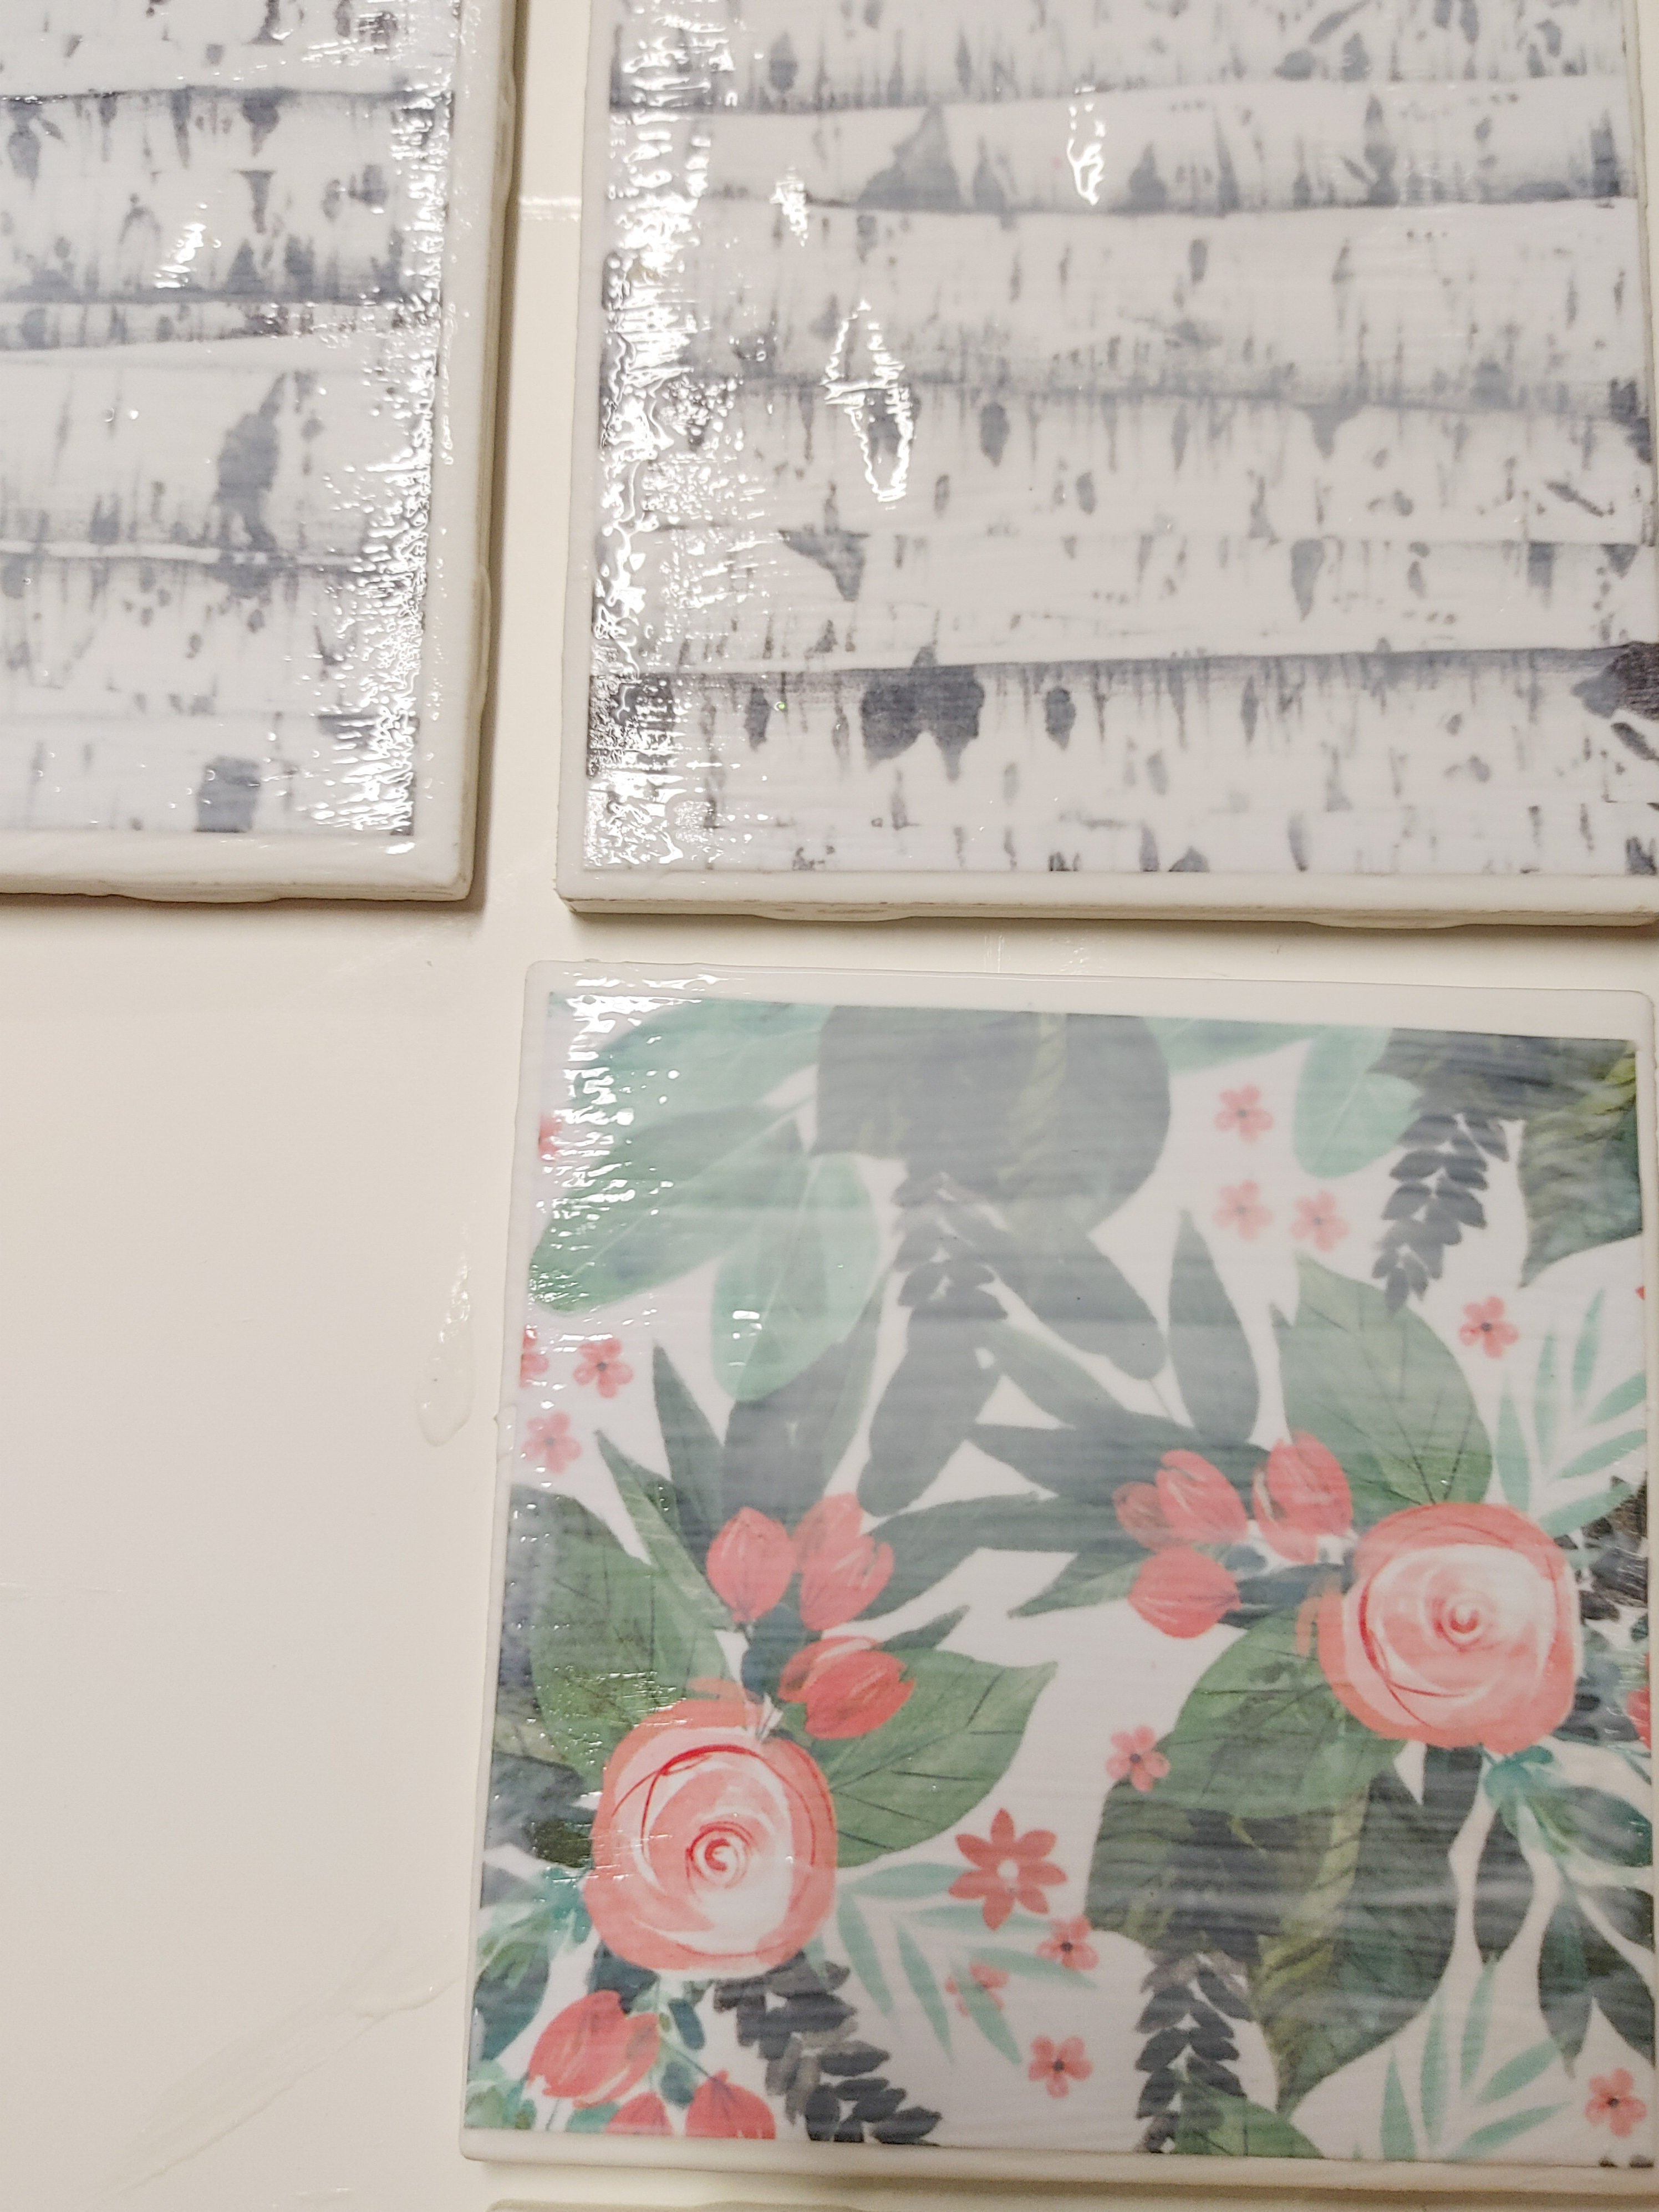
First, you will cut your scrapbook paper the correct size for your tiles being sure you have a tiny edge of tile peeking out evenly on all sides.  If your paper fully covers the top of the tile without that edge the paper will not adhere nicely around the edges.  I cut my paper to a 4×4 square size and made 6 coasters at a time.  I also like to mix and match my paper prints instead of using all one matching print!  Once your paper is cut you will spread a thin even layer of Mod Podge onto the surface of the tile.  Carefully smooth your scrapbook square on top of the Mod Podge layer (working from the middle out to the edges) being sure you do not have any air bubbles.  Once you are happy with the placement of your paper you will spread another thin even layer of Mod Podge on top.  Be sure to go all the way to the edge and clean any drips that go over the sides before it dries.  After that layer dries fully you will apply 1-2 more coats being sure they are thin even layers. 

0120221747

Next, after your Mod Podge is finished you will seal the coasters!  Be sure you are in a WELL ventilated area ( I like to do this step outdoors).  Spray the tops of each coaster being sure to use a thin even coating and apply 2-3 total coats being sure to let it fully dry between layers.  It is SUPER important not to skip the water resistant sealant or your cups will stick to the coasters (ask me how I know….).  

After the sealant dries you are almost finished!  The final step is to put backing onto the tiles so they don’t scratch up your furniture.  I have used both thin cork and felt for this step and highly prefer the felt.  You will cut your felt to size like you did with your scrapbook paper.  I cut my felt into 4×4 squares and then glued it onto the back of the tile.  You can use your glue of choice and I have found that Tacky Glue has given the best results for my coasters but have also used hot glue.  Now, go make all the coasters and have fun with it!

~Amanda~


Sewing Tutorials

Knotted Bow Headband Tutorial

Have you seen the cute new knotted bow headbands in all the stores?  My girls are obsessed with them and turns out they are super simple and quick to make!  I made several this week for them and put together this easy tutorial so you can make them too.

You will need the following supplies:

0915201446

-Basic sewing machine & sewing supplies (needle, thread, straight edge etc)

-Fabric, stretch fabric is recommended but not necessary, cut to 5″ wide and 15″ long

-Ribbon in 7/8″ width and coordinating color:  2 pieces cut to 2 inches each with ends heat sealed with a lighter to prevent fraying

-Blank plastic headband (I grabbed 1″ size here)

-Hot glue/glue gun

-PDF pattern piece below with 2 pieces of fabric cut on the fold for the knotted bow:

Headband Tutorial Pattern Piece

First, you will sew the 5″ x 15″ strip of fabric right sides together down the long side as shown clipped below.  After it is sewn you will turn it right side out and set it aside.

PSX_20200917_151300

Next, you will sew your knotted bow.  You will pin or clip these right sides together and sew all the way around leaving a 2-3 inch gap (shown circled below) open.  Turn this right side out through the open hole and and be sure to poke out the corners well.  Then, sew the gap closed with a straight stitch and set this aside.  **Please note I am not a pattern designer, this is a hand drawn pattern piece that I traced in my Silhouette software and converted to a PDF so it is not fancy but it does the job**

PicsArt_09-16-05.24.13

Next, you will assemble your headband.  Slide the headband into the strip of fabric we have sewn.  Be sure your seam is centered on the inside of the band.  You will dab a small amount of hot glue to both ends on both inside and outside to hold the fabric in place.  After that fold each side over to the outside (very important as if you fold to the inside it will hurt behind your ears) and dab glue to hold this in place.  You will be sandwiching it together creating a fold/pleat on the outside as shown in the middle picture below.  Finally, you will glue the pieces of grosgrain ribbon on the ends.

Your headband will look like this after gluing the fabric and ribbon on to the ends.  It has a slouchy look which can be completely customized.  You can adjust your fabric size to your preference to be slouchier, a more snug fit, etc.

0915201503a

Lastly, tie your knotted bow piece onto the headband and you are finished!  This piece is also completely customizable.  You can make the end pointier or more rounded or you can lengthen the piece in the middle for a longer knot (lengthening is recommended if using a non stretch fabric for your knot).

0915201505a

Now, go make all the headbands and have fun with it!

PSX_20200917_151322

Sewing Tutorials

Pacifier Clip Sewing Tutorial

Would you believe I did not know how to sew five years ago?  I mean, at all.  I am completely self taught over these last four to five or so years and I can not believe how much I love sewing!  So, when we found out we were having another baby I knew I wanted to make as many items for her myself as possible.  I am having so much fun making the basics, coming home outfits and nursery items as well!  My goal is to have everything possible in her diaper bag handmade instead of store bought.

Today, I want to share a tutorial for one of those basic items with you!  I made several pacifier clips to help prevent those pesky pacifiers from dropping onto the dirty germ riddled floor.  This is another easy, beginner friendly, sewing tutorial that is quick and uses very little fabric.  It’s a great scrap buster.

You will need the following supplies:

*Fabric:  Cut to 12 inches long by 4 inches wide (1 strip per clip needed)

*Lightweight iron on interfacing (optional:  adds stability but not a must)

*1/4″ or 3/8″ elastic

*1″ Suspender Clips:  I order mine on e-bay but you can find these in a local craft store as well

*Basic sewing supplies and sewing machine

Paci Clip

If you have decided to add the interfacing you will first iron that on to the wrong side of each fabric strip.  You will then press the short ends in about 1/4″ or so, this is to hide the raw edges and press the fabric in half lengthwise.  Next, fold each side in to the middle and press again.  Use pins or clips to hold in place.  This is essentially a bias tape process, see pics below.

Paci Clip 2   Paci Clip 3

Paci Clip 4

After that you will cut your elastic and sandwich into one short end of the fabric in a loop.  I used 5 inches to that they would fit both types of pacifiers but you could definitely go with 3-4″ and be fine as well.

Paci Clip 5

You will then sew along all three open edges of the fabric.  I went over the elastic 2-3 times to be sure it was very secure.

Paci Clip 6

Your last step is to add the suspender clip to the other short end of the fabric.  You will simply loop the fabric through the bar and then sew it closed.  Again, go over it 2-3 times so it is very secure.

Paci Clip 7

You are already finished!  I made four of these in under 15 minutes from cut to finish.  All you do to attach these is push the elastic loop through the end of the pacifier and then loop the entire fabric clip through the elastic and pull (making a slip knot).  Clip the suspender clip onto car seat straps, etc and you are good to go!  No more pacifiers falling onto filthy dirty floors!

Thanks for checking out this beginner friendly sewing tutorial!  Happy sewing!

Paci Clip 8


Paci Clip 9


Craft Tutorials

Oversized Hoop Wreath

This past summer we upgraded to new furniture in our living room and some fresh new decorations were needed to match!  We went with grey as our main color with blush and mint accents.  I had so much fun creating the new look, it feels like an actual “grown up” room for the first time!

We have a large empty wall space above our entertainment center that needed an accent decoration.  I wanted something large but still simple and sweet.  I decided to put together an oversized hoop wreath and put together a quick tutorial for you as it is SO easy and really adds to any room!

The supplies you will need are:

-Oversized hoop:  I used an 18″ Quilt Hoop that I picked up at Joann using a 40% off coupon

-Floral wire

-Artificial Greenery and Flowers:  I love the selection at Hobby Lobby (AND they go on sale 50% off every other week!)

-Glue Gun

20170816_112718

**I did decide to spray paint my hoop light pink right before starting it because the wood did not match our living room decor.**

I started by pulling my flowers off of the stems and laying them out loosely on the hoop to get an idea of what it would look like.  After that, just add the greenery on first.  I wanted mine to cover only half the hoop. Use pieces of your floral wire to secure the greenery to the hoop.

20170828_104237 (2)

Once your greenery is secured use more floral wire to secure your flowers on.  You can use hot glue as well in any areas that need extra hold.

20170828_111036 (2)

Once finished you can hang just on the actual hoop or you can add rope, twine, etc to hang it from.  It looks perfect centered over our entertainment center and is exactly the oversized but simple statement piece we were aiming for!  And, even better, you can easily swap it out seasonally!

20180210_123904
Completed oversized hoop wreath!


20180210_123846